Kernel Flow includes four internal active dry EEG electrodes integrated into the headset and are placed close to PZ, CZ, F3, and F4 on the 10-10 grid, as well as two external leads (for Reference and Bias) with ear clips on the ends.

The EEG system is integrated into the Flow headset and the electrical signals are digitized and synchronized with the optical data on the headset to be transmitted together to Kernel Cloud.
Two electrodes are installed on the centerline of the headset, plus two more on the Prefrontal plate. EEG electrodes come pre-installed in the headset. The system comes with an extra set of four electrodes tips.

To get accurate EEG data, the four electrodes tips must be present in the EEG electrodes. The two external leads must also be connected to the participant in order to ensure accurate readings during each recording.
To learn more about caring for the EEG electrodes, see Cleaning your Flow system.
To connect the external EEG leads to a participant (clips):
While the headset is on the Headset Stand, connect the EEG leads (provided with your Kernel Flow system) to the 1/8” mini ports on the Hub of the headset.
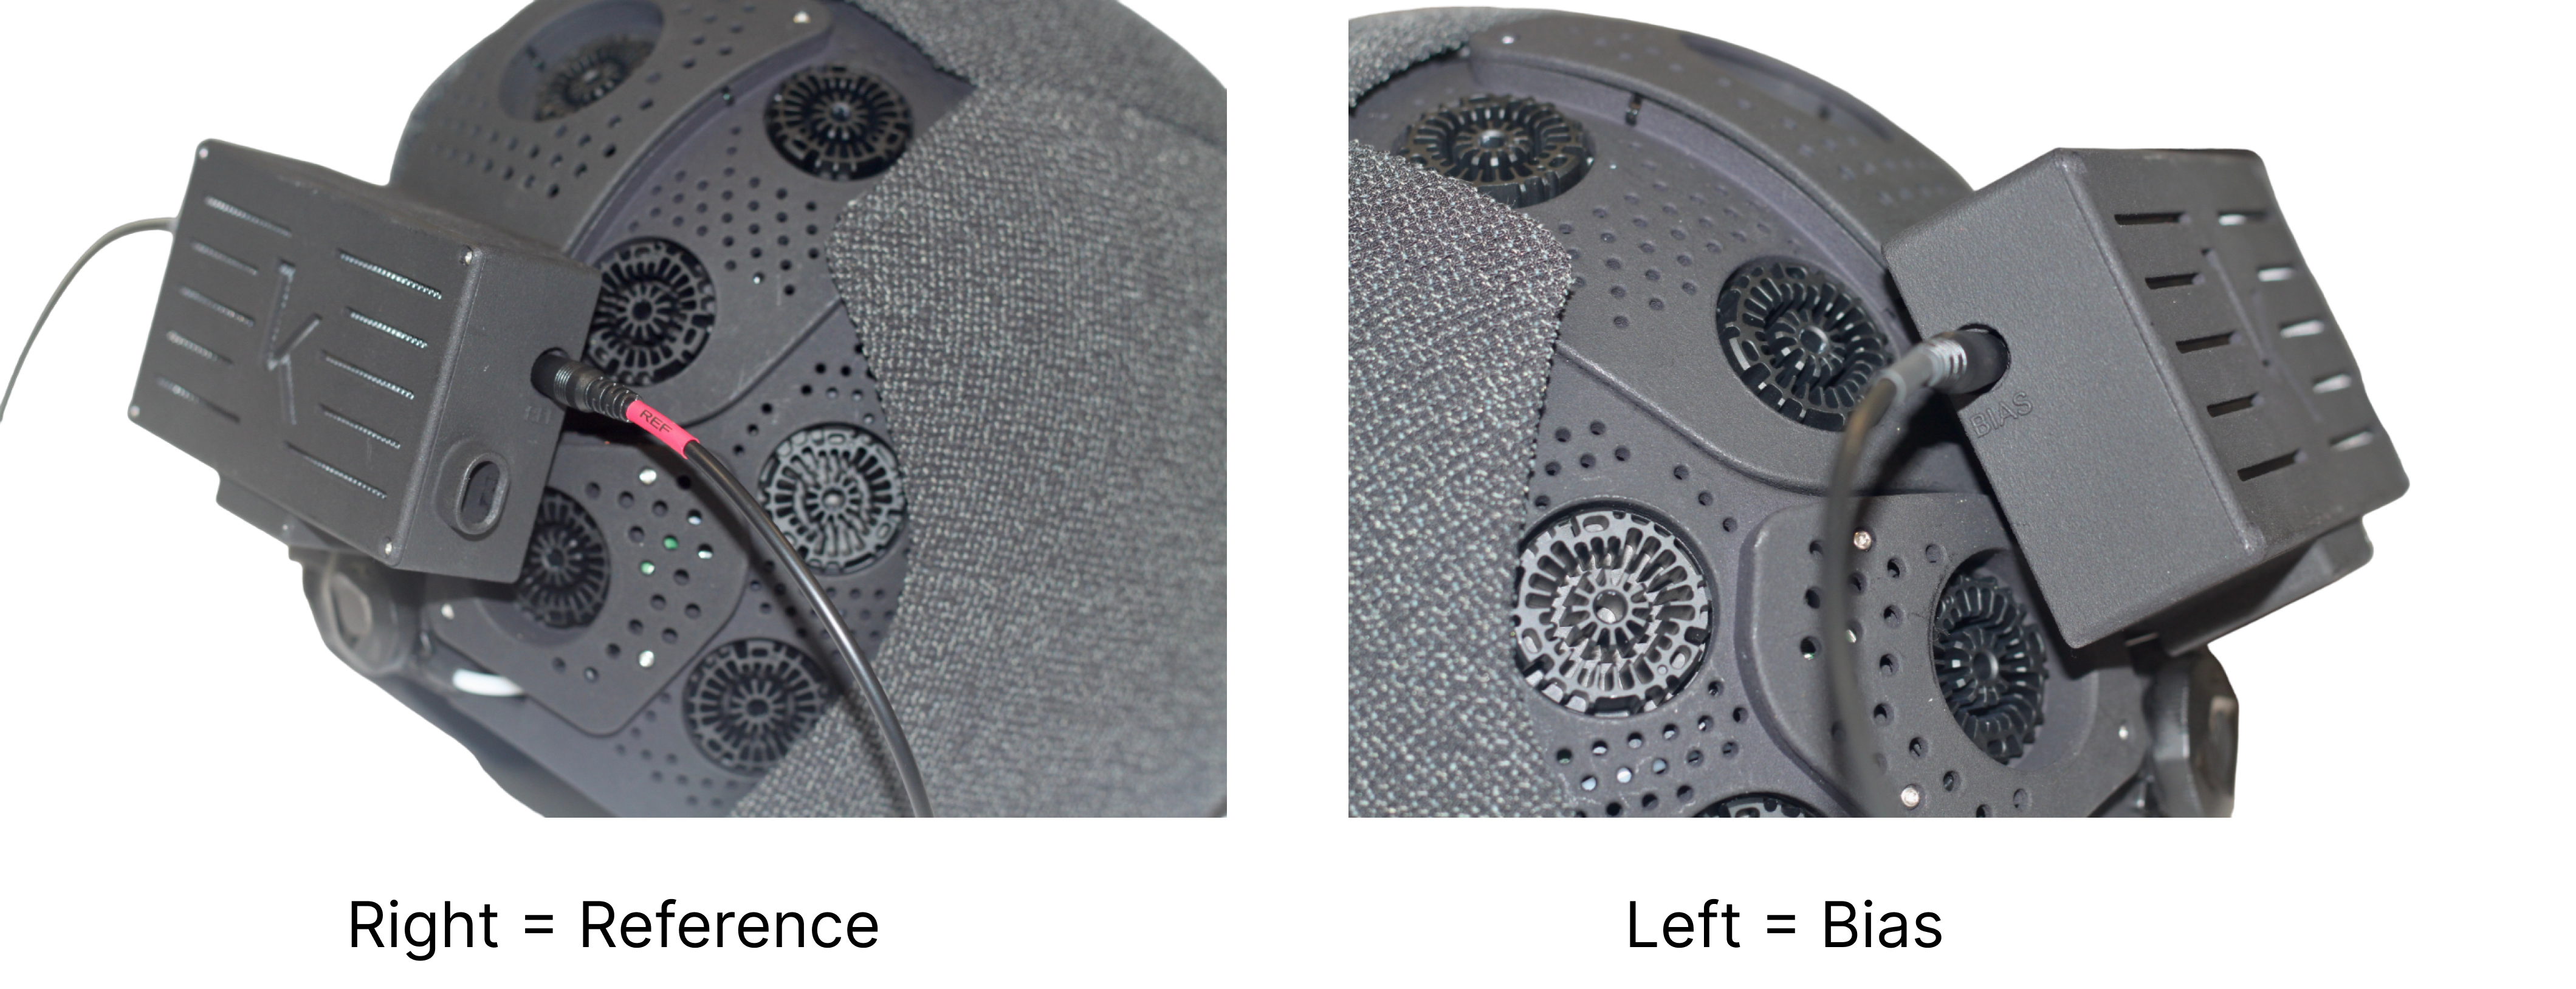
The wires are labeled Bias and Ref (for reference), as are the ports on each side of the Hub.
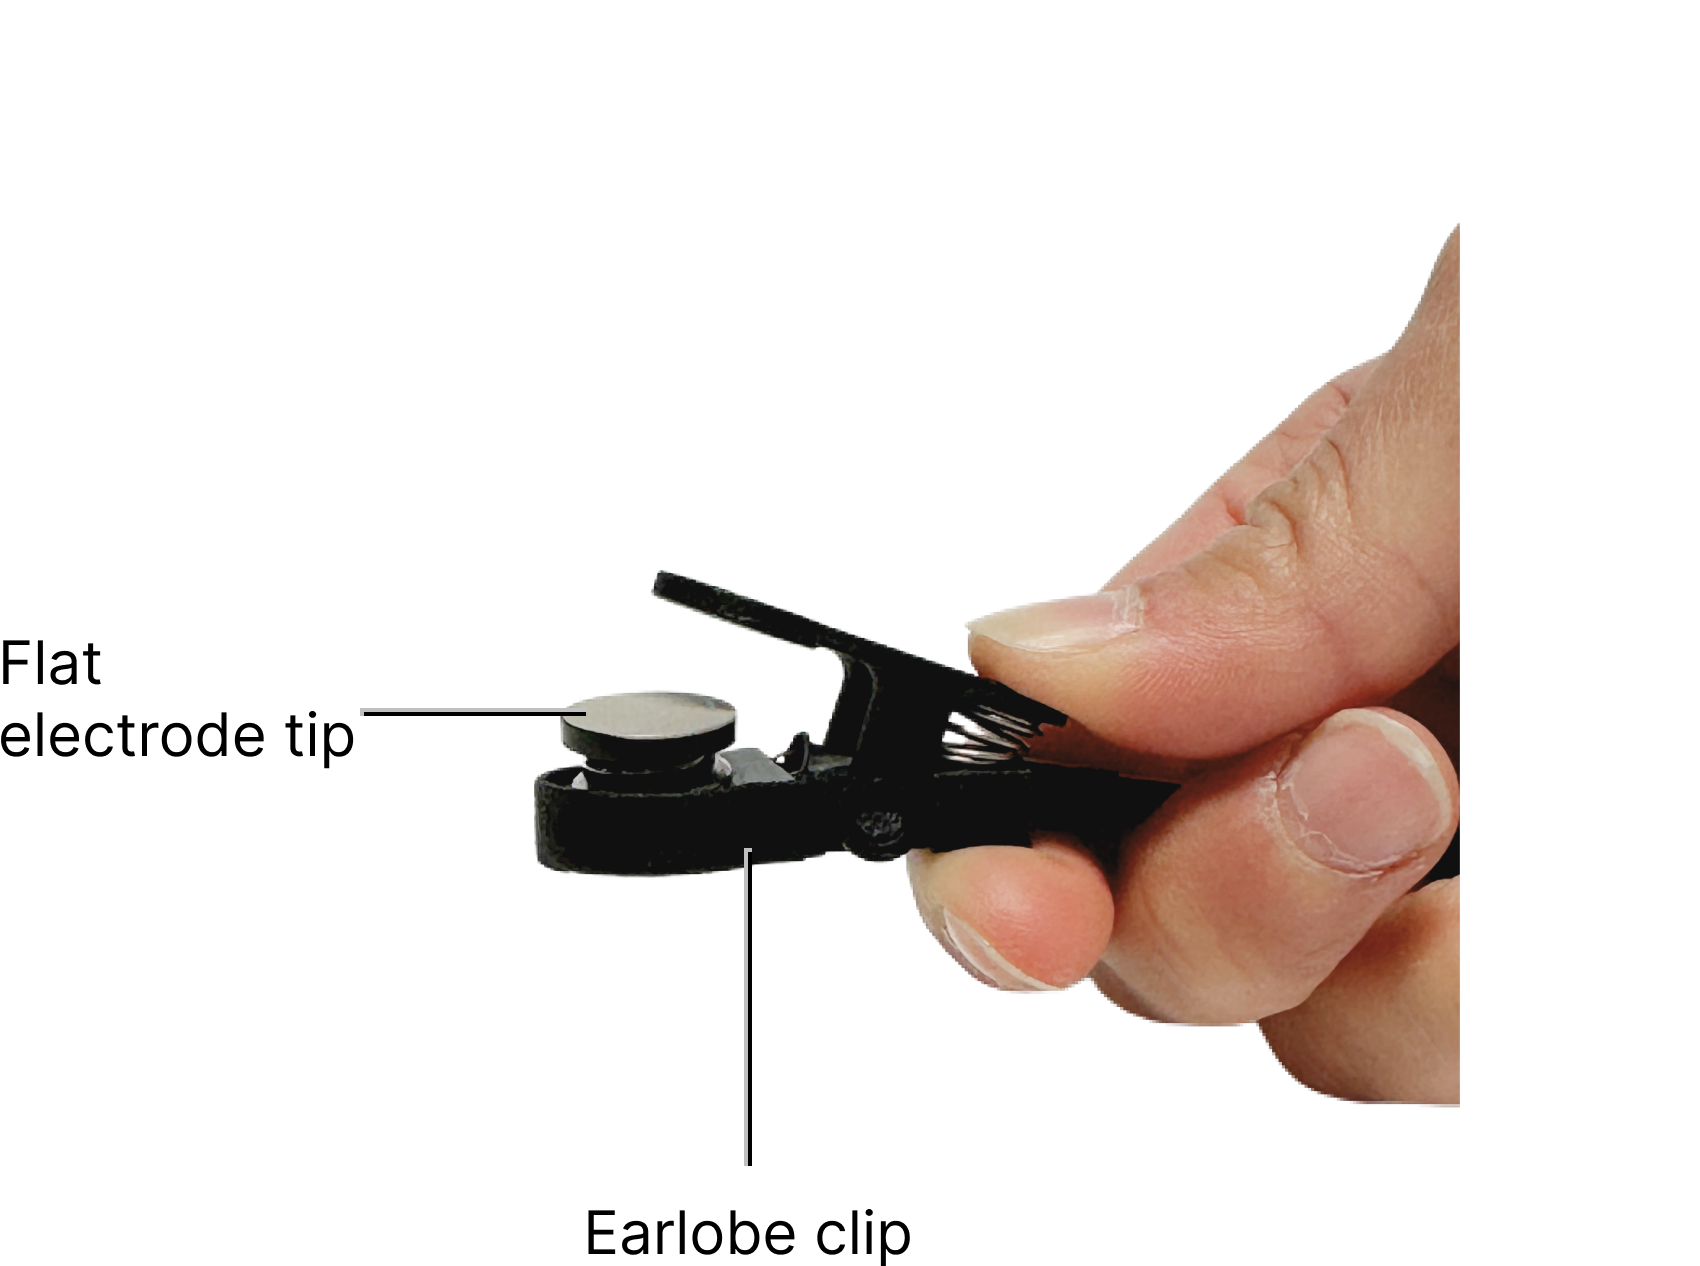
- If not already attached, snap two flat rubber electrode tips into the electrode holders inside the clips at the end of the EEG leads.
- After the headset has been put on the head, attach the clips to the participant's earlobes.
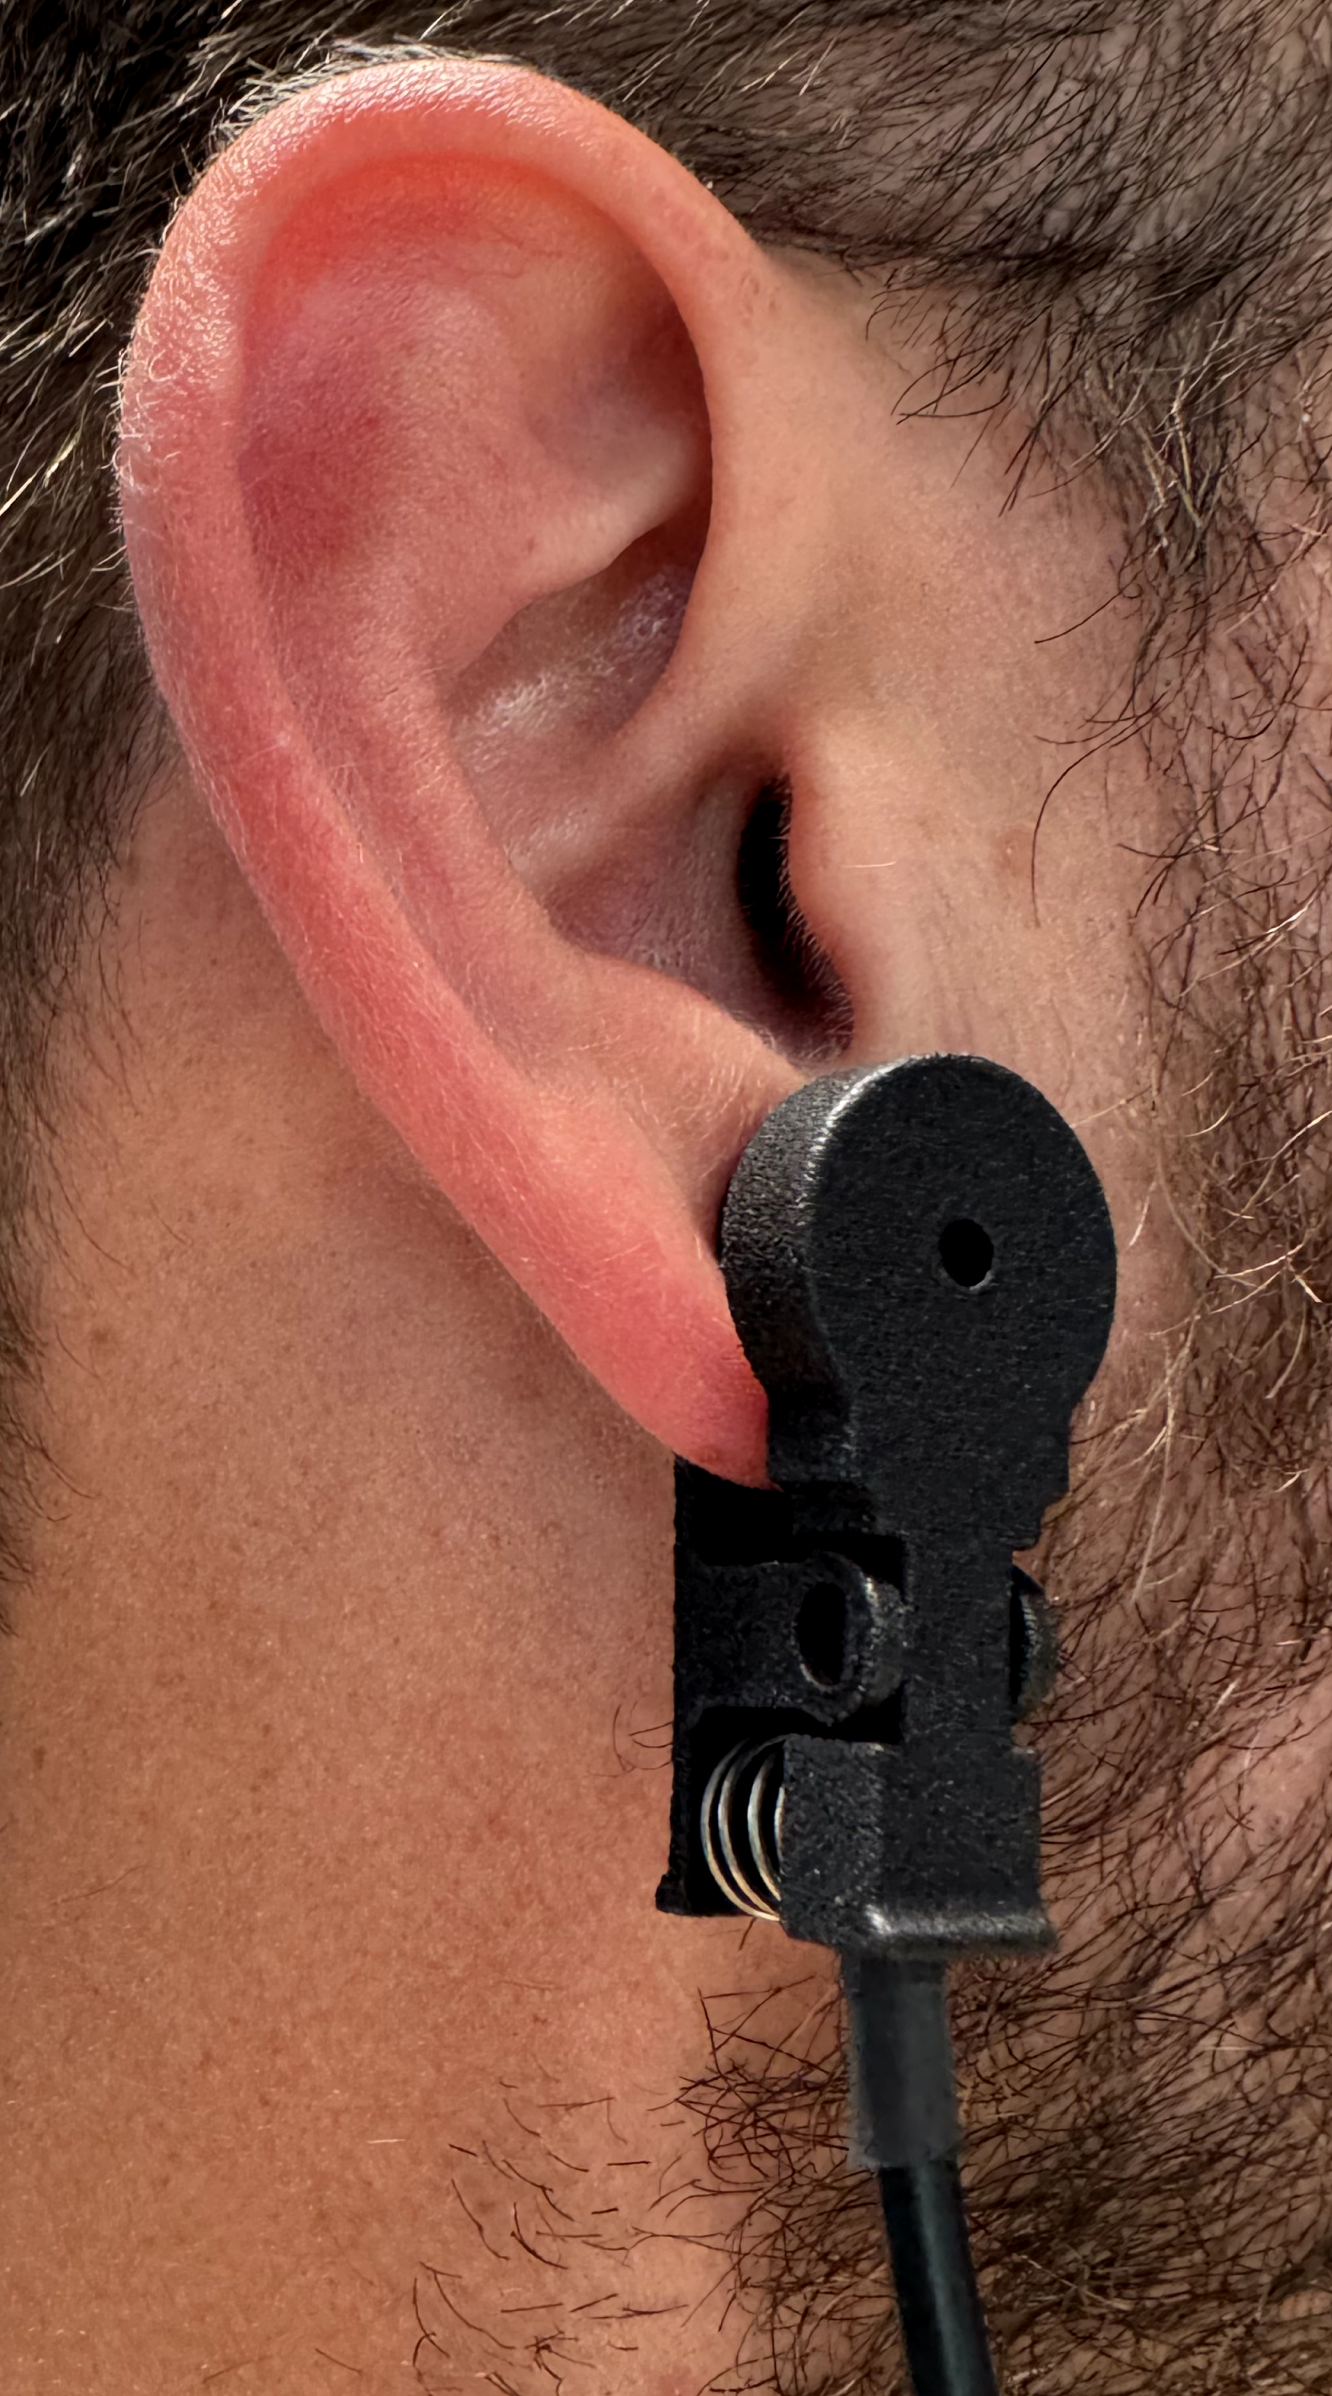
The direction of the earlobe clips does not matter. The clip should sit on the largest part of the earlobe so as to make as much skin contact as possible. Earrings should be removed if worn.
Remove the external EEG leads
Once a recording is complete, be sure to have the participant unclip the leads from their earlobes before removing Flow from the head.
Converting EEG Ear Clips to Adhesive Electrodes
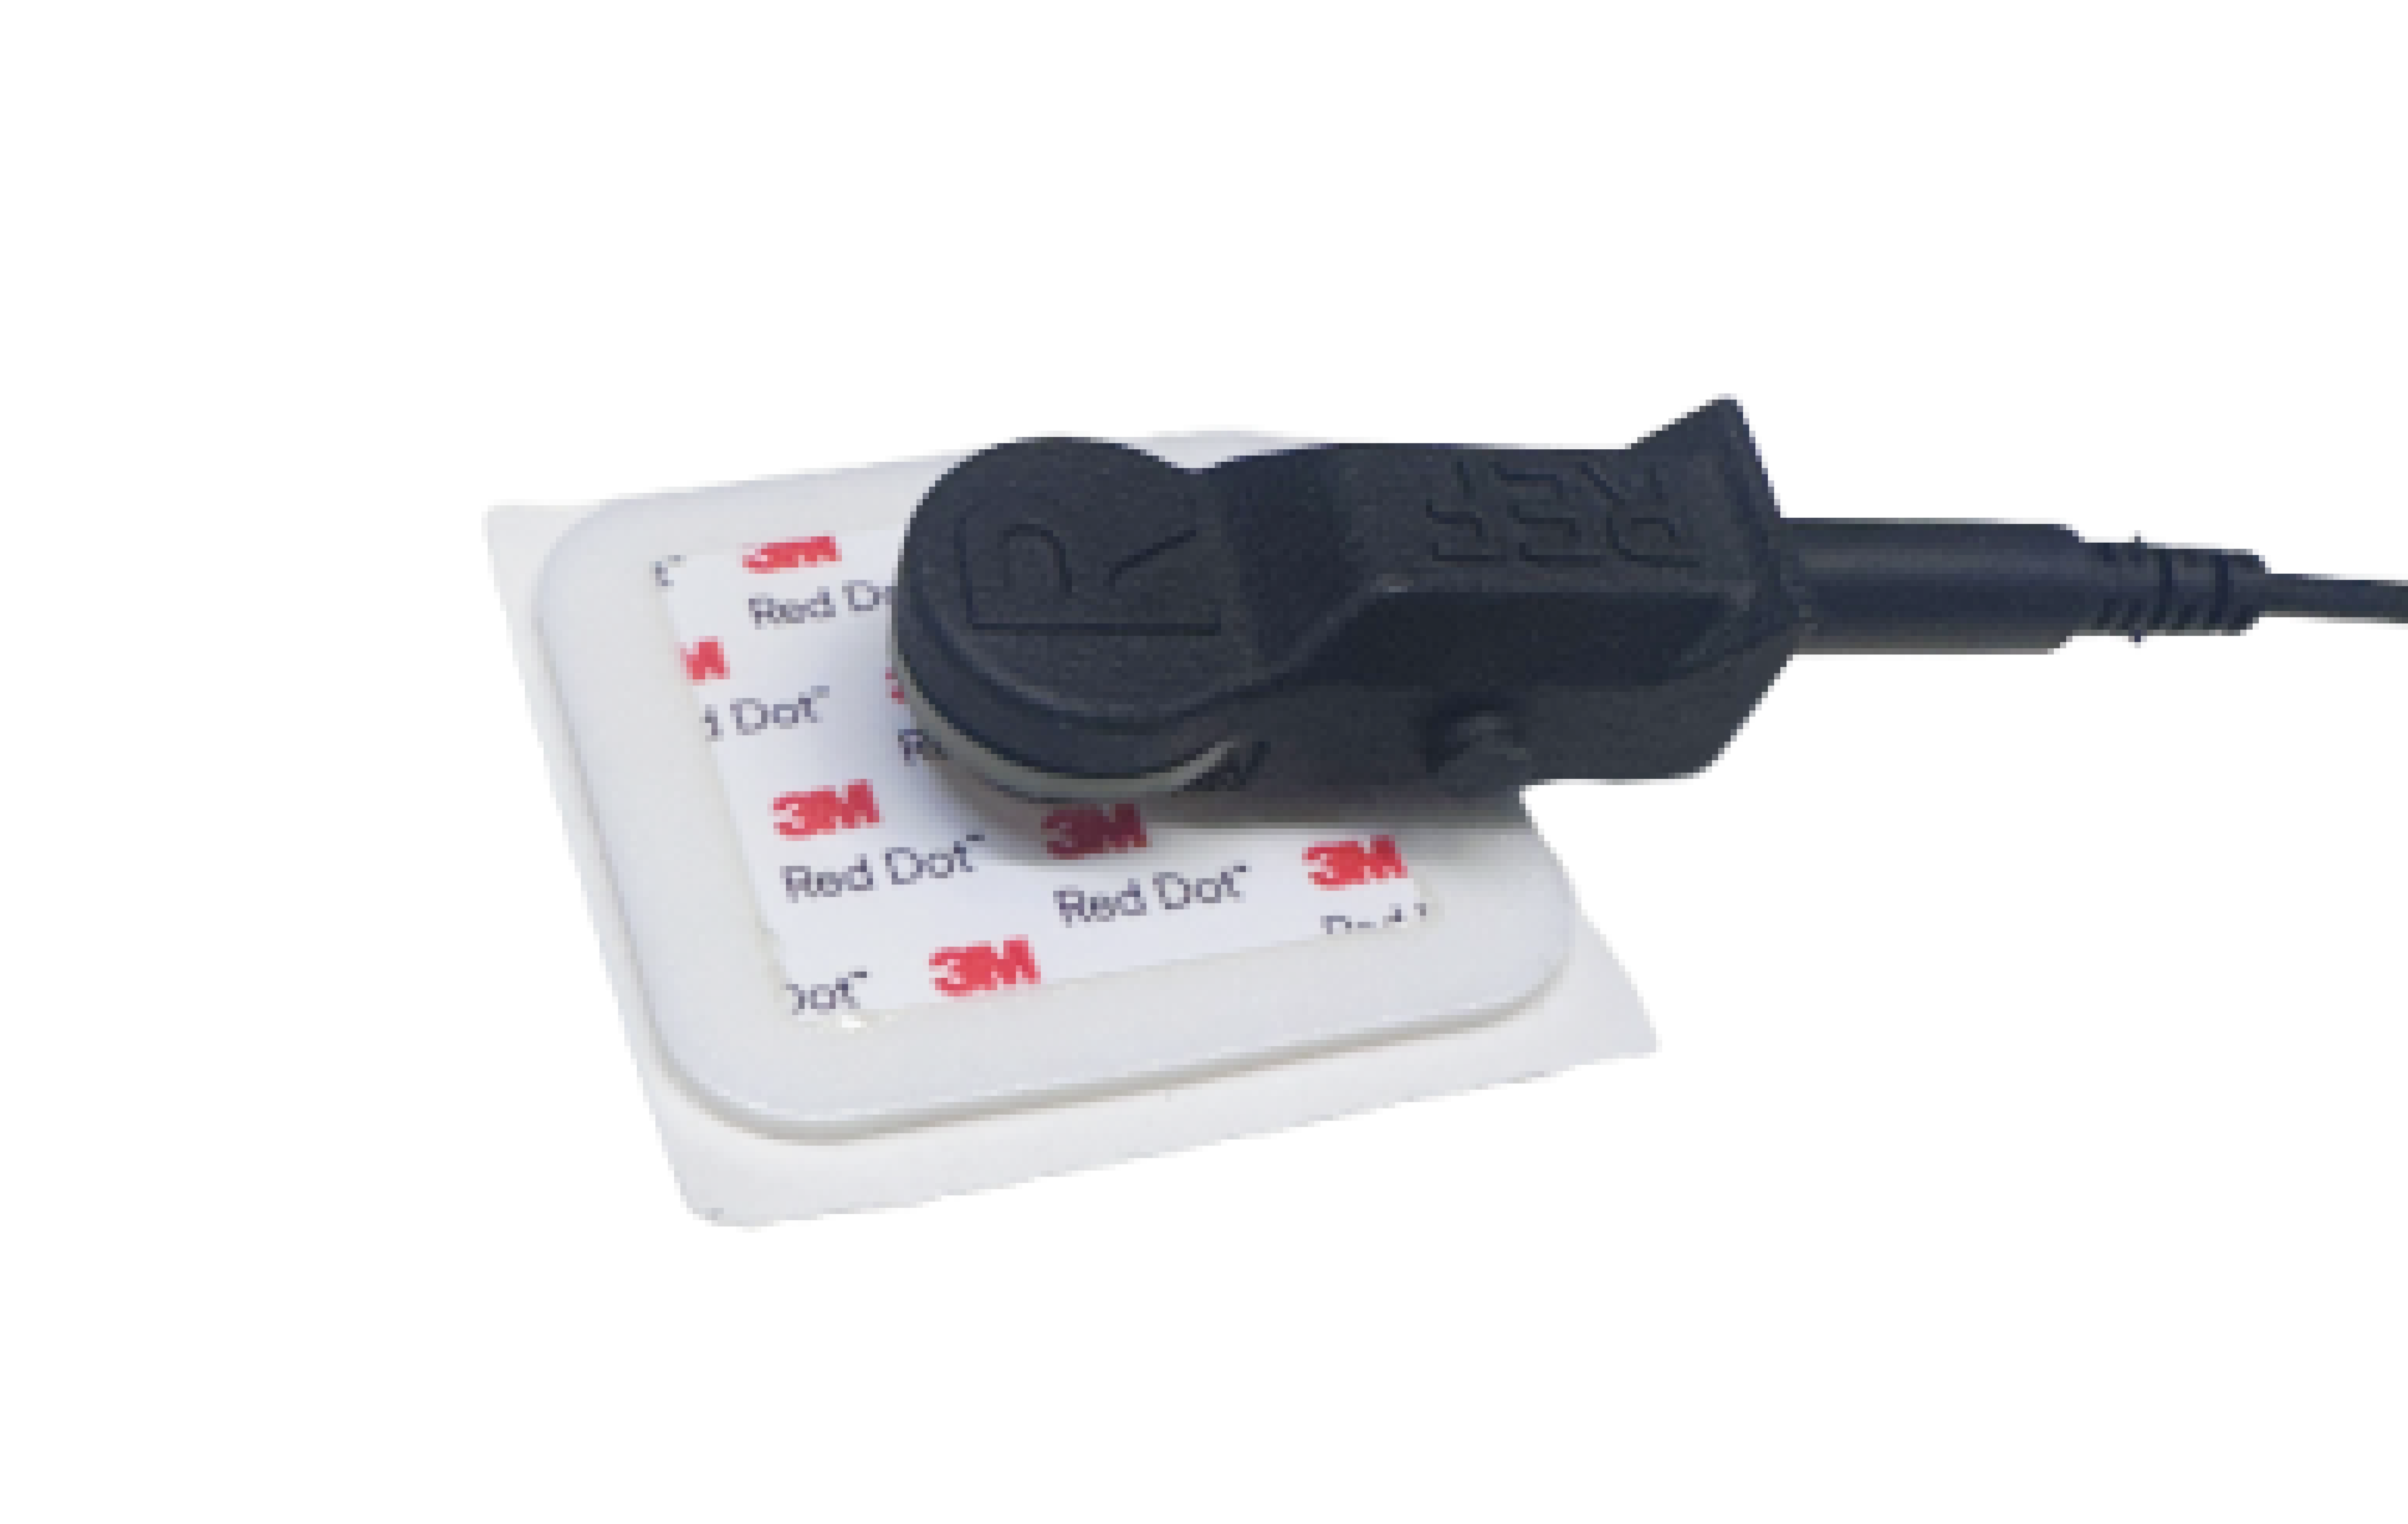
Our EEG ear clips can be replaced with medical monitoring electrodes, such as 3M™ Red Dot™ electrodes. The adhesive side of the electrode should be placed behind the earlobe, over the mastoid bone.
Kernel does not provide adhesive electrodes. Our ear clip mechanism is compatible with most standard EKG/ECG monitoring electrodes.
To convert an ear clip to an adhesive electrode:
- Detach the top section of the ear clip (the spring-loaded piece you press to open the clip) by unhooking it from the sides of the main body.
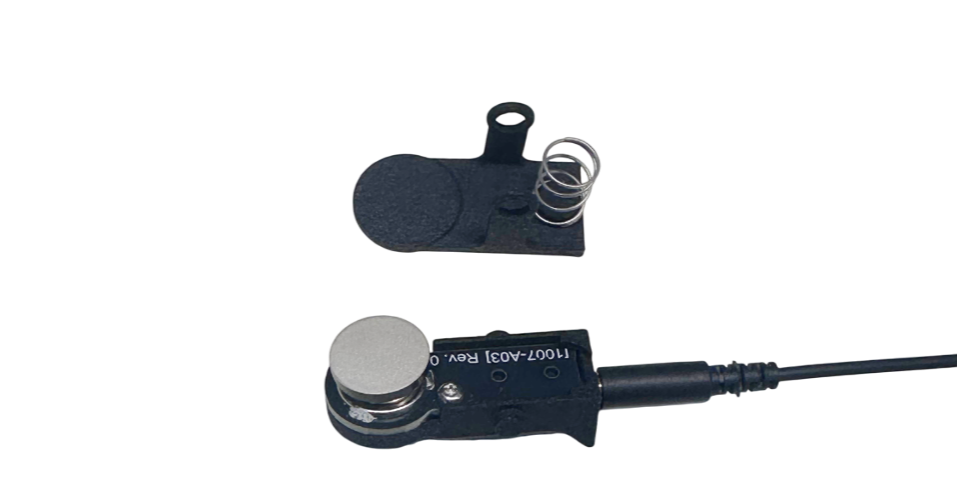
- Unsnap the flat silver electrode tip from the main body of the clip.
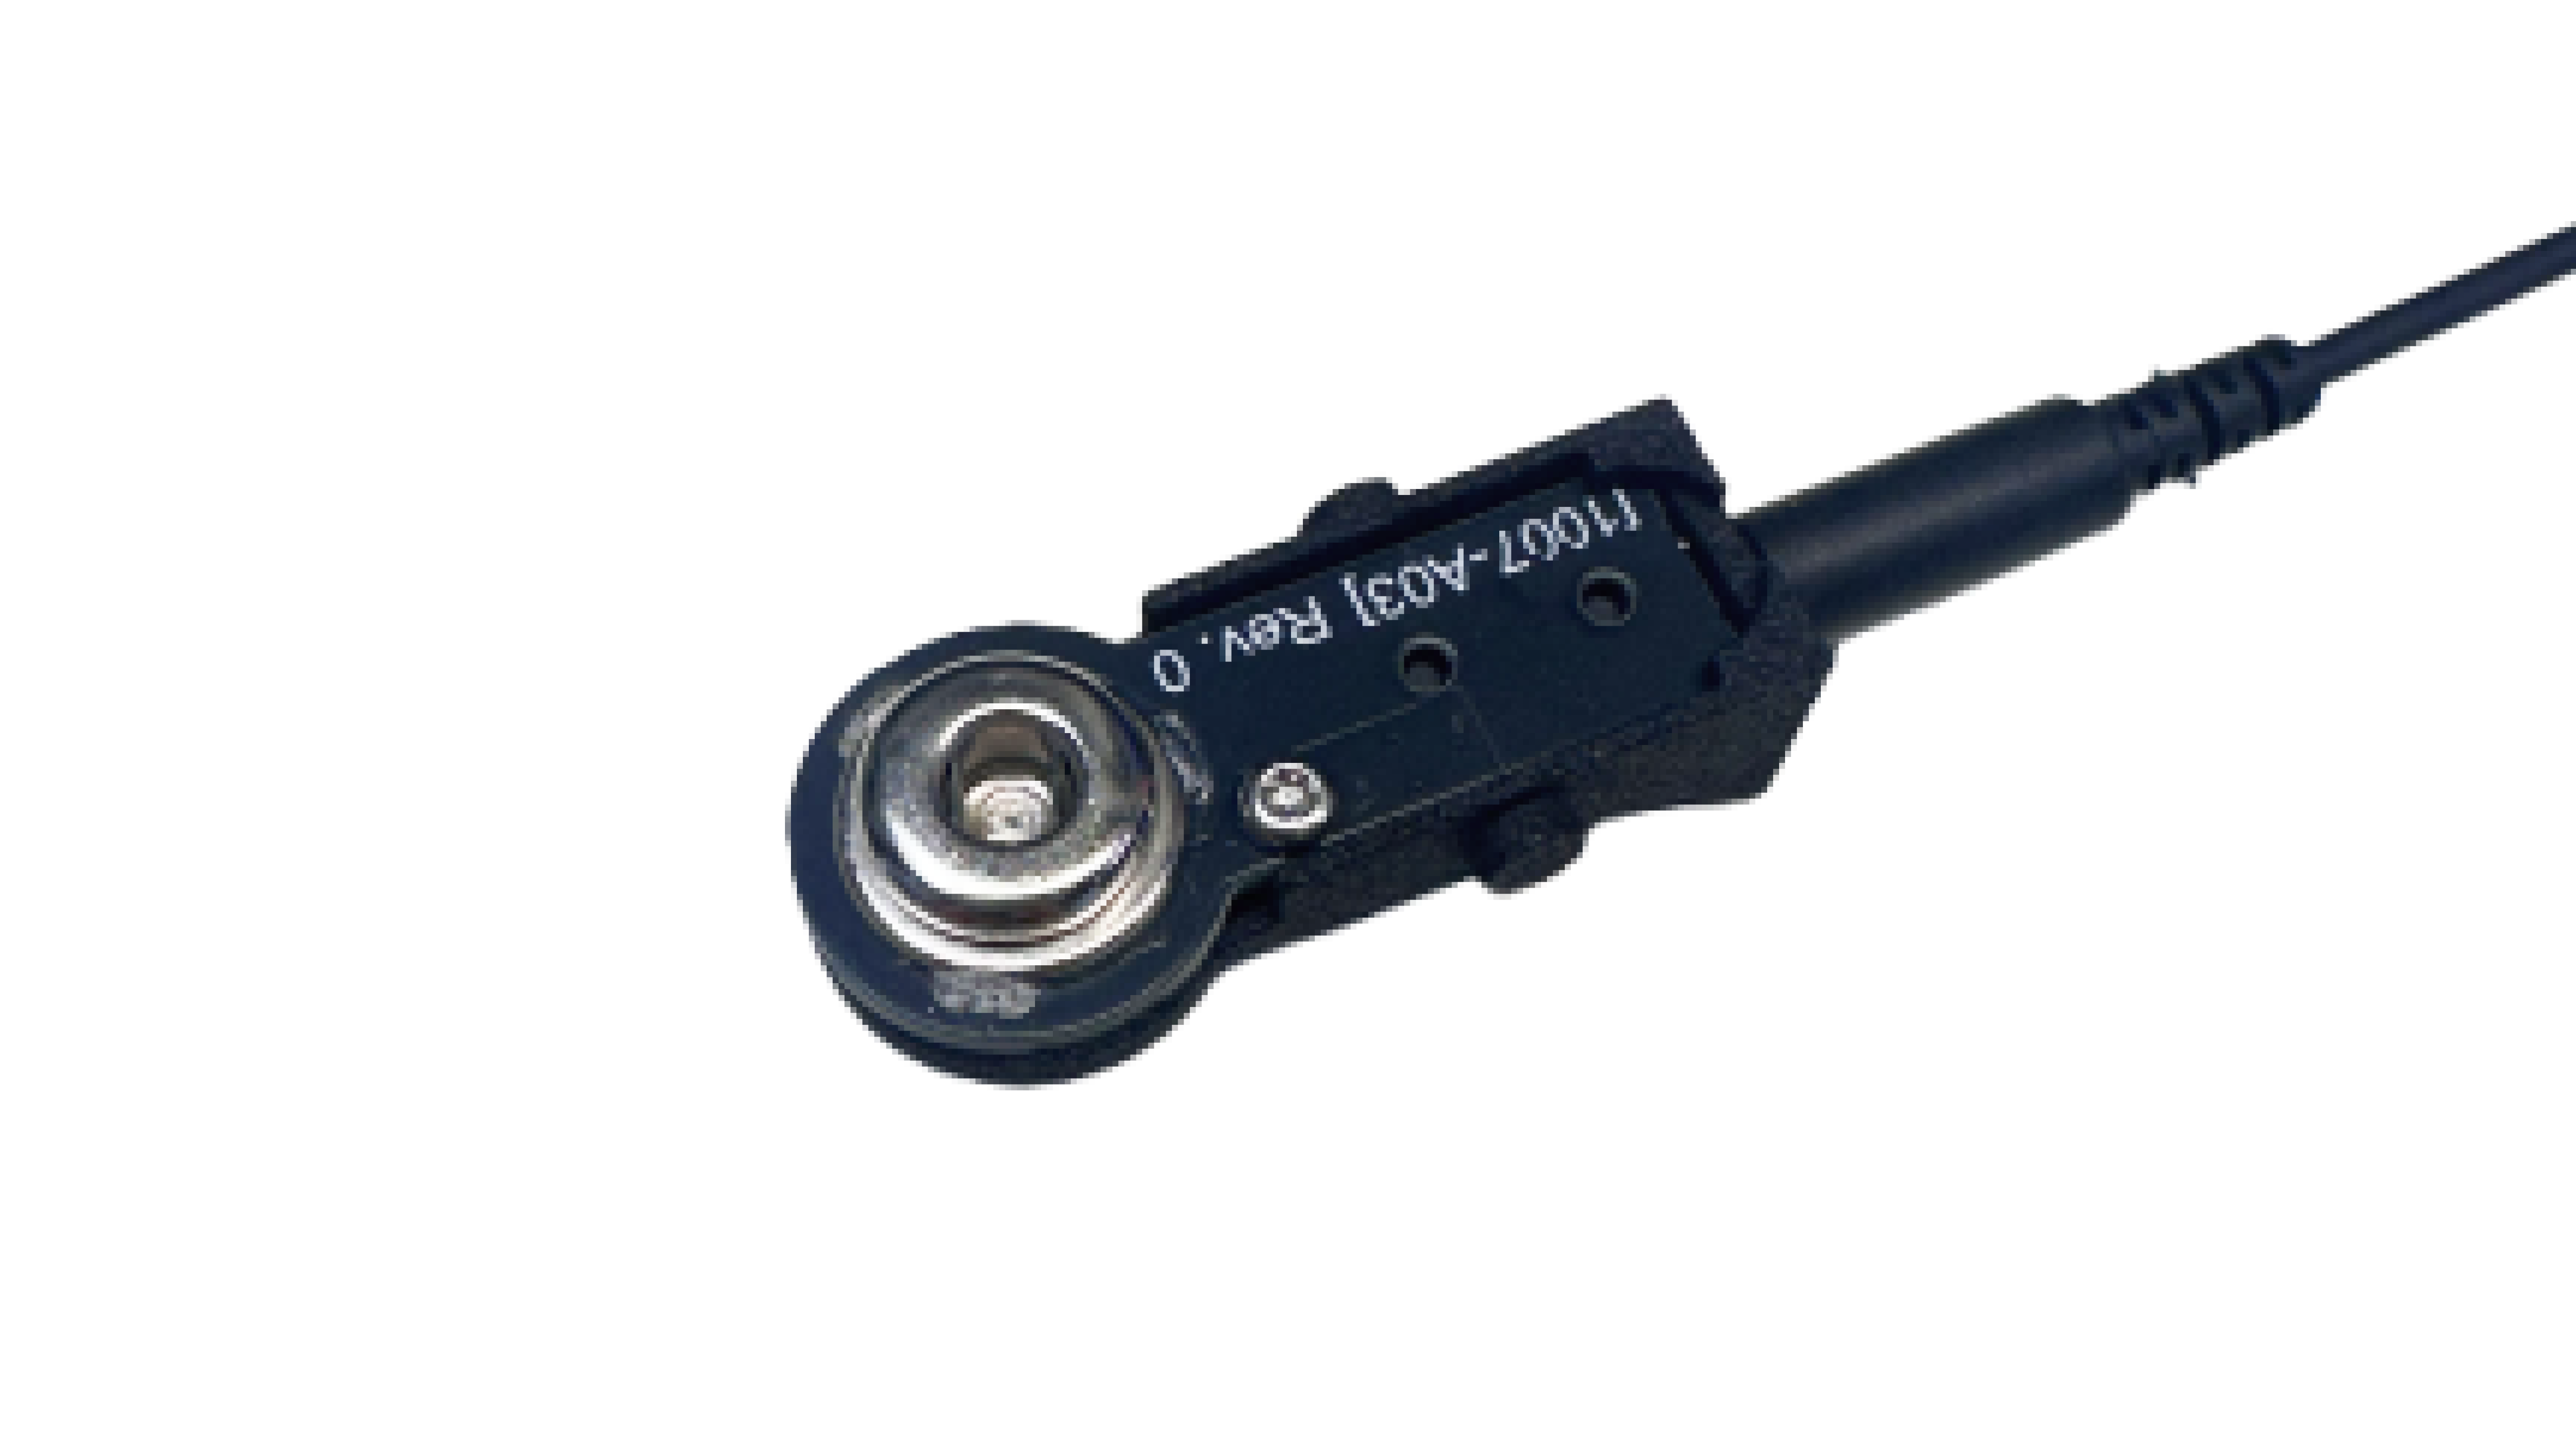
- Snap the stud on the monitoring electrode onto the exposed socket on the main body.
To replace the EEG electrodes:
The EEG electrodes come pre-installed in the headset's electrode holders. It is recommended not to remove the dry EEG electrodes, as they are difficult to install. However, if you must, use the EEG electrode tip insertion tool that arrived with your Flow shipment.
- Wrap your pointer and middle fingers around the bulb of the tool, with the top of the bulb pressing into your palm.
- Secure an EEG electrode tip to the end of the thinner part of the tool, ensuring the grooves hold the electrode in place.
- Position the underside of the electrode tip against an EEG electrode snap. Apply pressure with your palm until you feel the prong has been securely inserted. Confirm proper installation by testing that the electrode cannot be easily removed.

To learn more about caring for the EEG electrodes, see Cleaning your DevKit system.