When you reach a checklist step labeled “Record {Task Name},” you will be recording neural data with the Flow device. Follow the steps below.
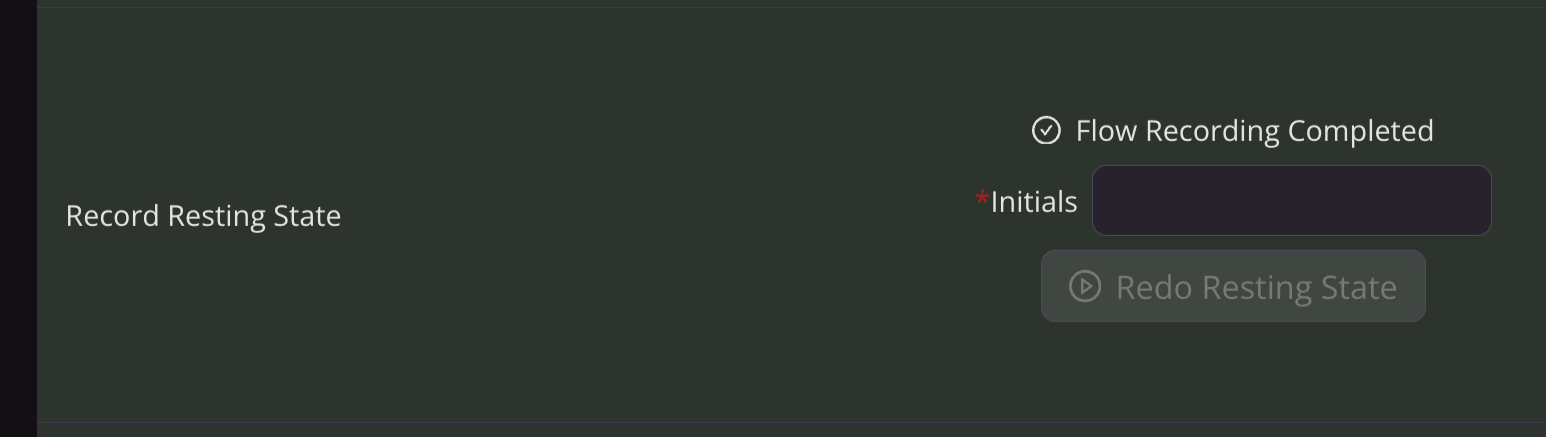
Enter operator initials and press “Go to {Task Name}.”

The Flow Interface opens.
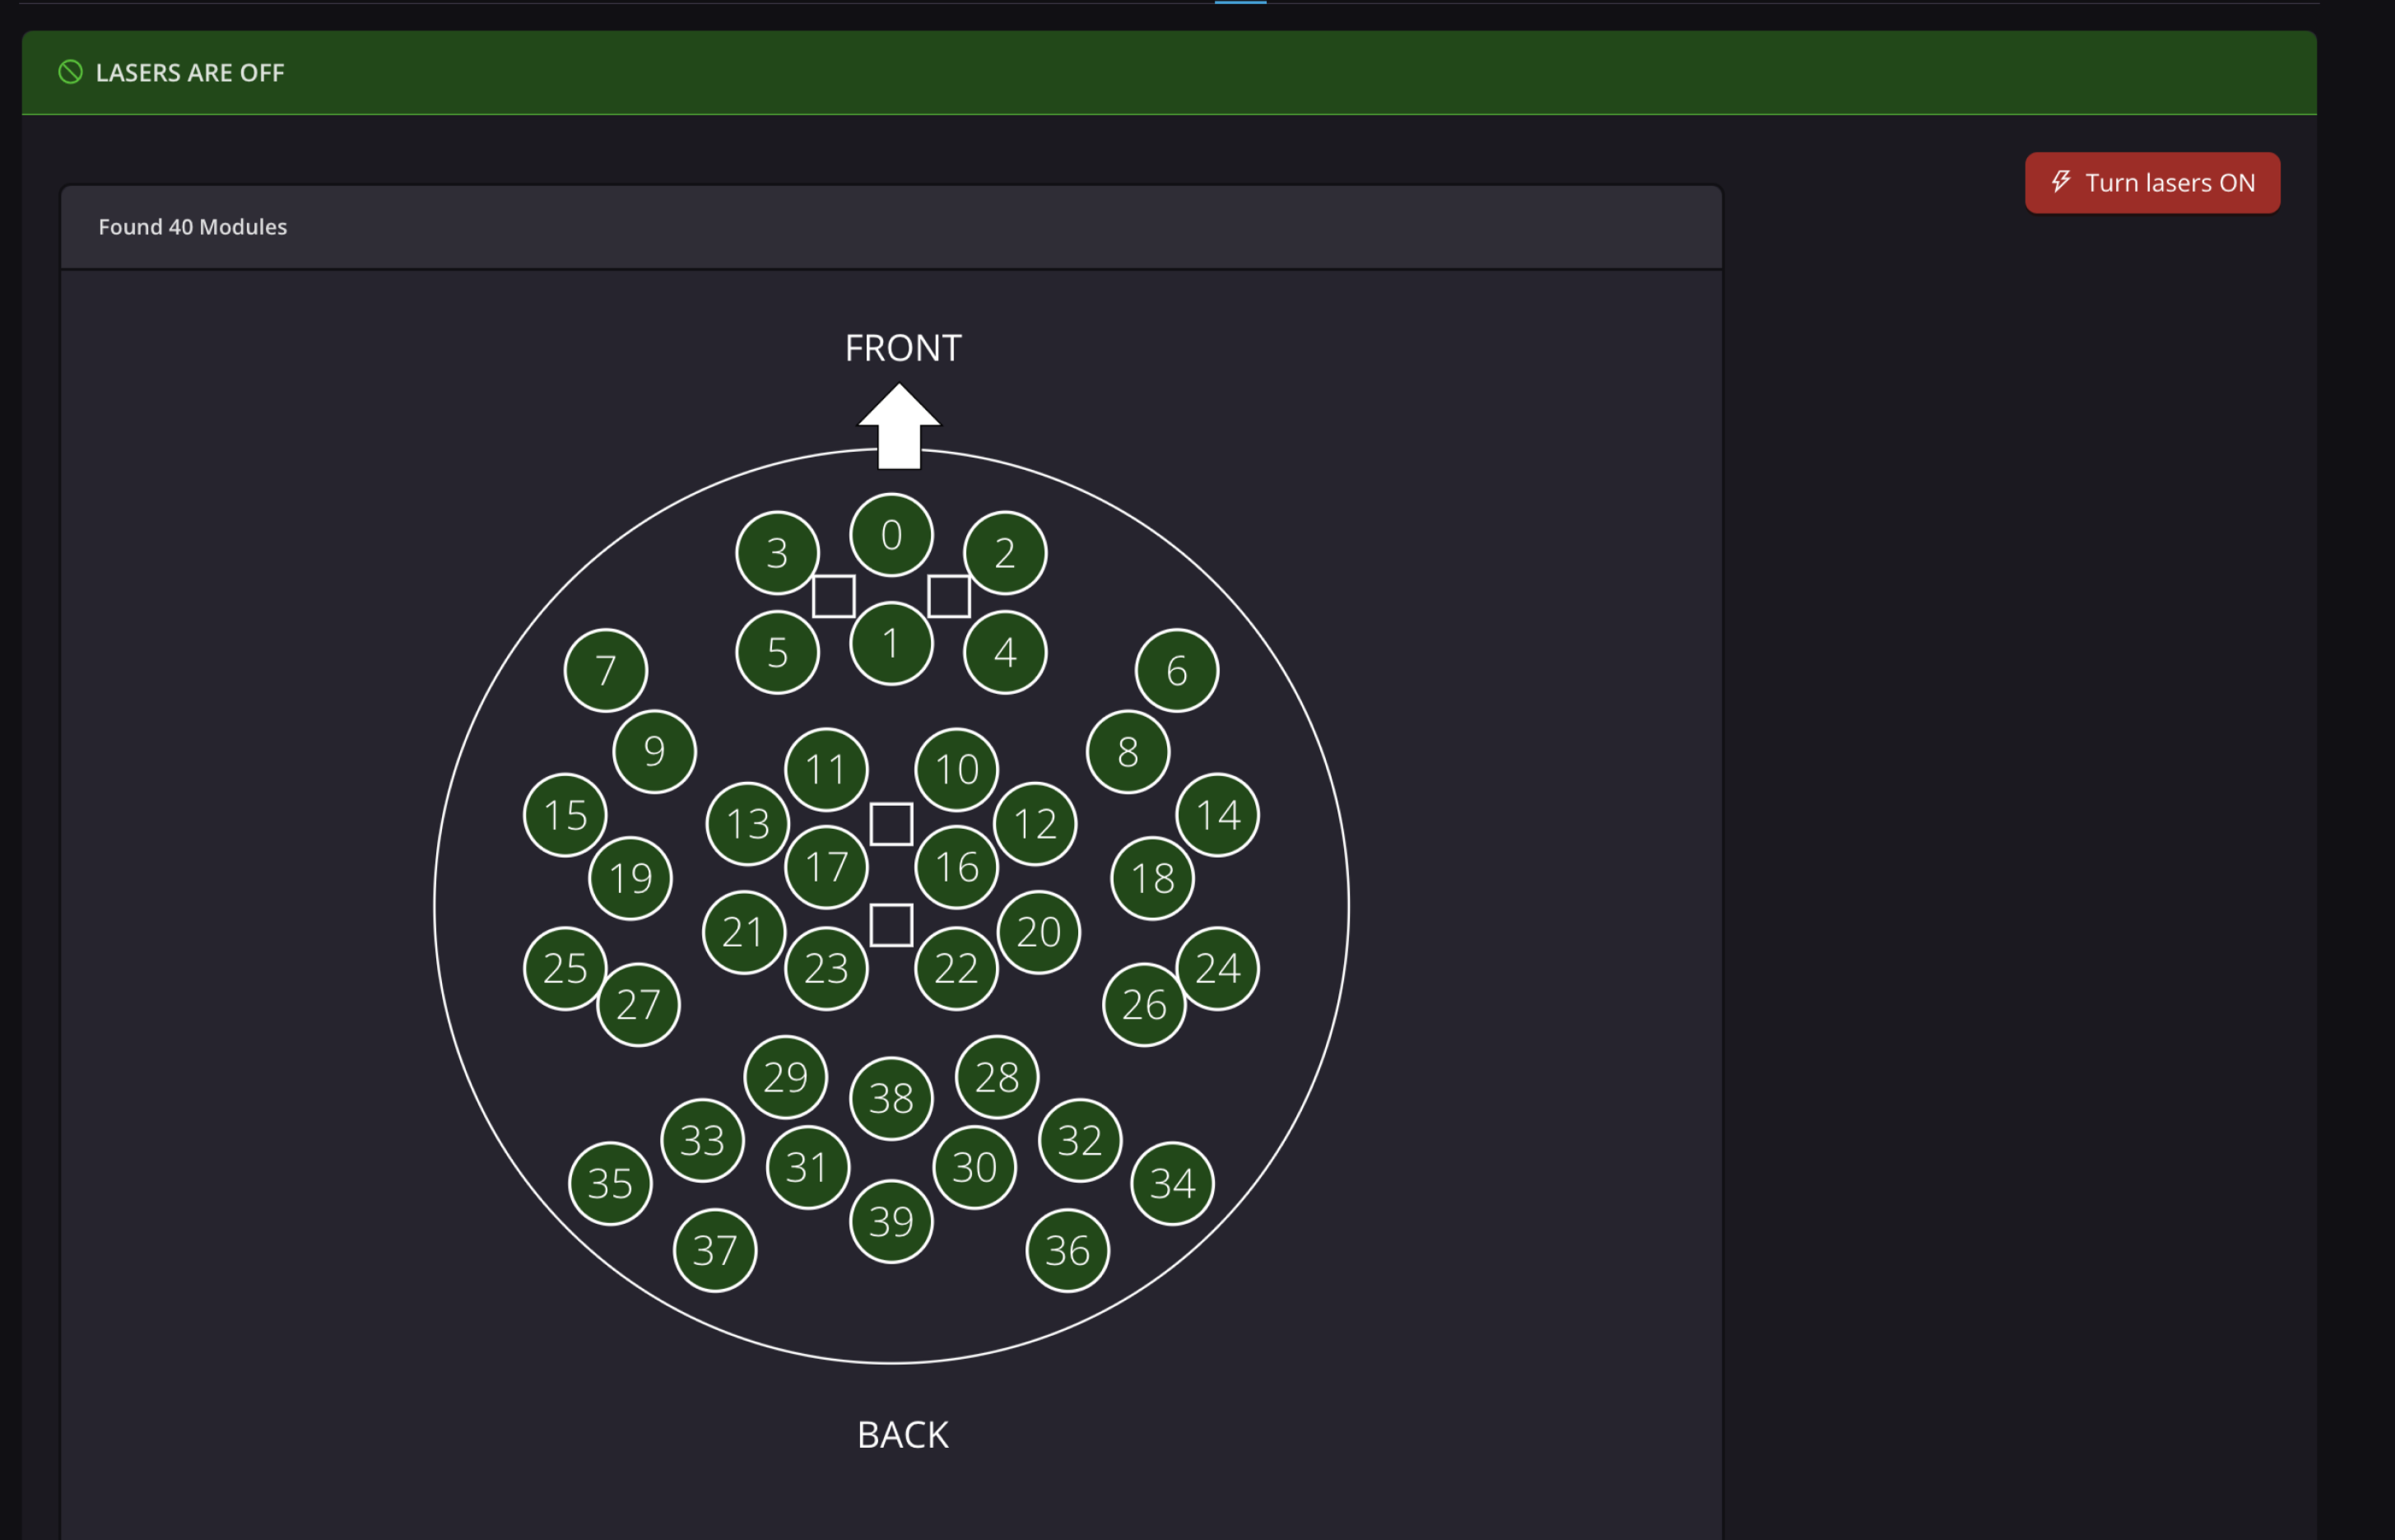
If the headset has already been initialized, a map of functioning Flow modules appears, and the only option is Turn Lasers On.
If the headset has not been initialized, the Flow Interface will prompt you to do so. The headset must be on the stand with lights off to complete initialization.
NOTE:
We recommend powering on and initializing the headset before the participant arrives. See Starting up the Flow System for details.
Before clicking Turn Lasers ON, place the headset on the participant. See Place the Flow headset on the participant for best practices. See the video below for a summary.
If applicable, connect the EEG Ref and Bias cables to the participant's earlobes. See Connecting the EEG components for details.
Click Turn Lasers ON to activate the light sources.
Optimize signal quality. See Getting the Best Signal for more detail.
Begin by gently tugging the ear covers outward and shifting the headset side-to-side or in small figure-eight motions to comb the light pipes through the participant’s hair. Be cautious not to use downward force when doing so.
Often, the best results come when the participant manipulates the headset themselves. Ask them to place their hands on the back of the headset and perform the movement for no more than 60 seconds, or until signal percentages stabilize within ~5%.
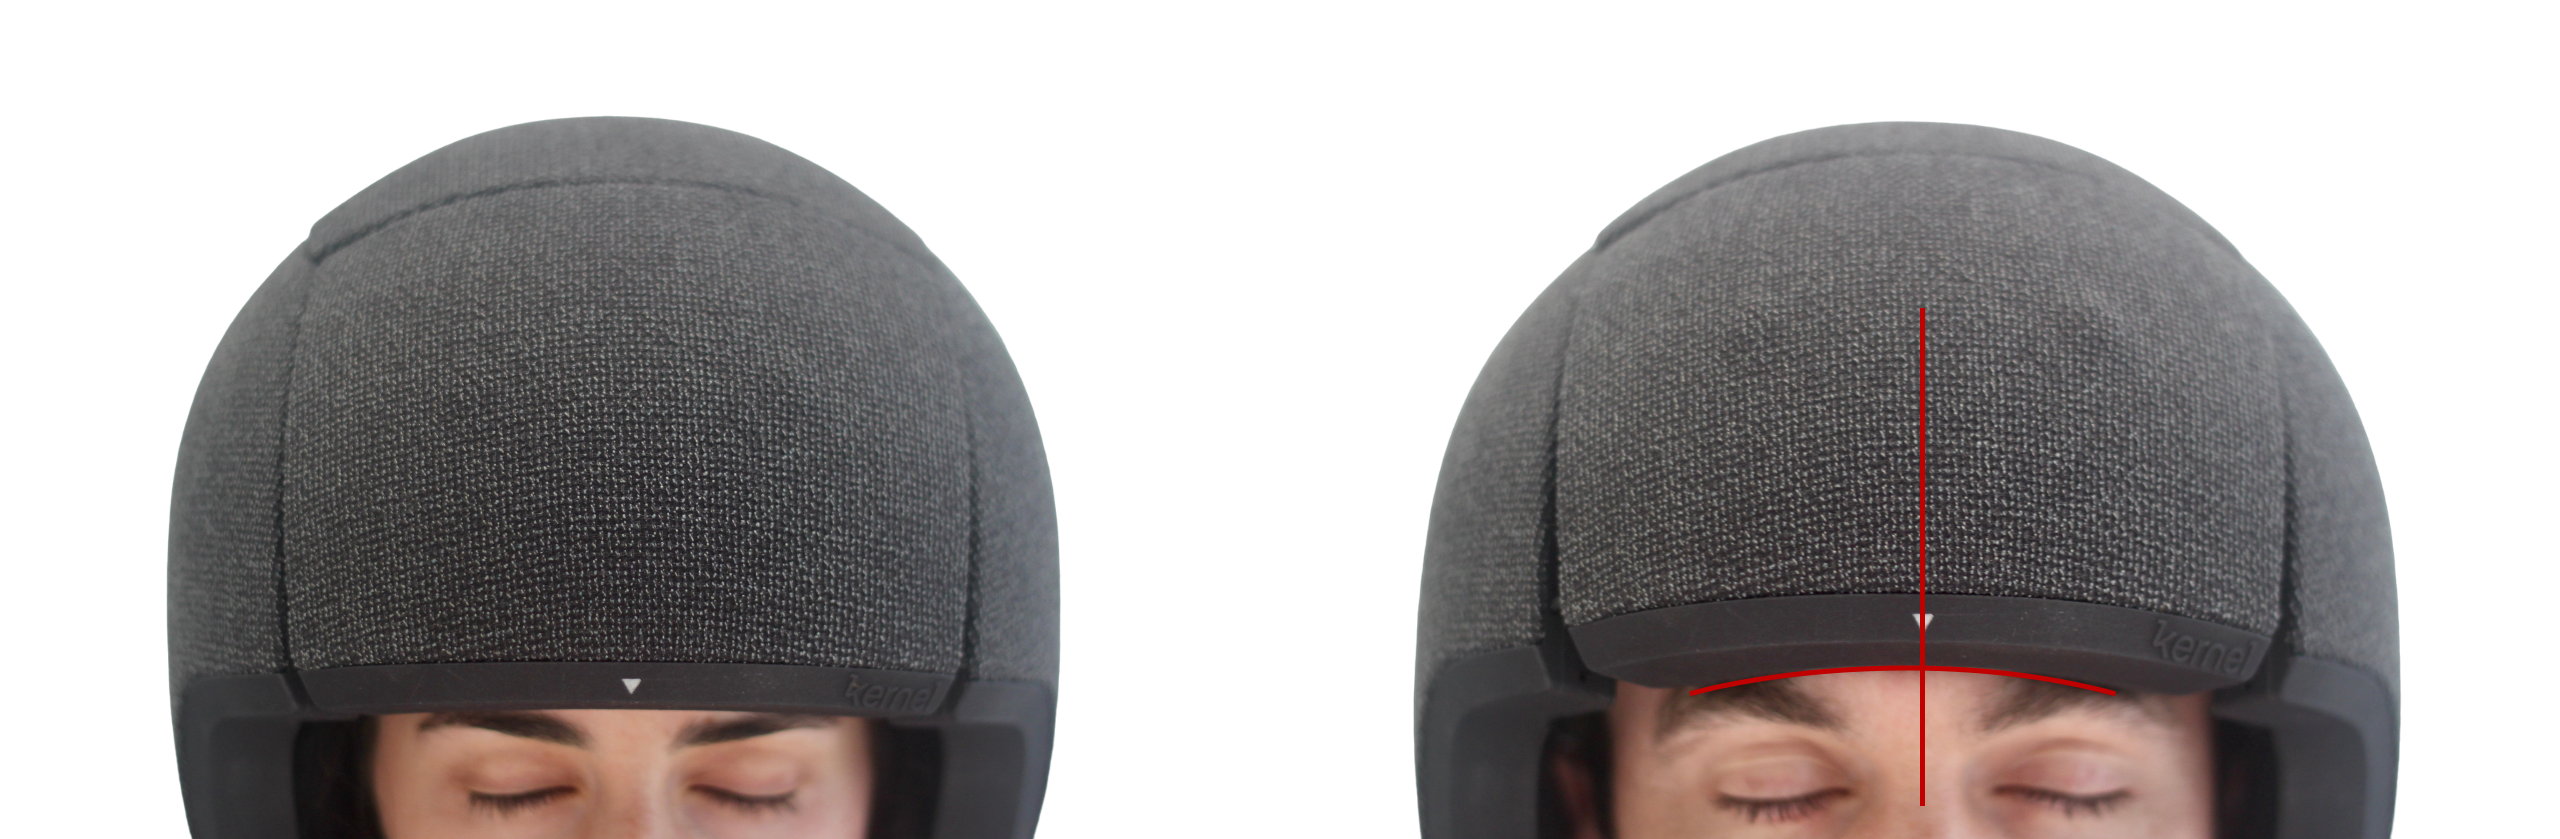
Verify headset placement. On the left side of the signal map, the Portal Flow Interface shows four images illustrating proper and improper placement. Ensure the headset is centered, the white arrow is aligned between the eyebrows, level, and resting on the eyebrow line. Ask the participant to adjust if needed.
Tighten the headset slowly using the tension dial. Stop when the participant first feels slight pressure. Do not overtighten, as this can become uncomfortable over time.
When the headset is correctly positioned, press Continue. Ask the participant to remain still for 15–20 seconds while the device calibrates.

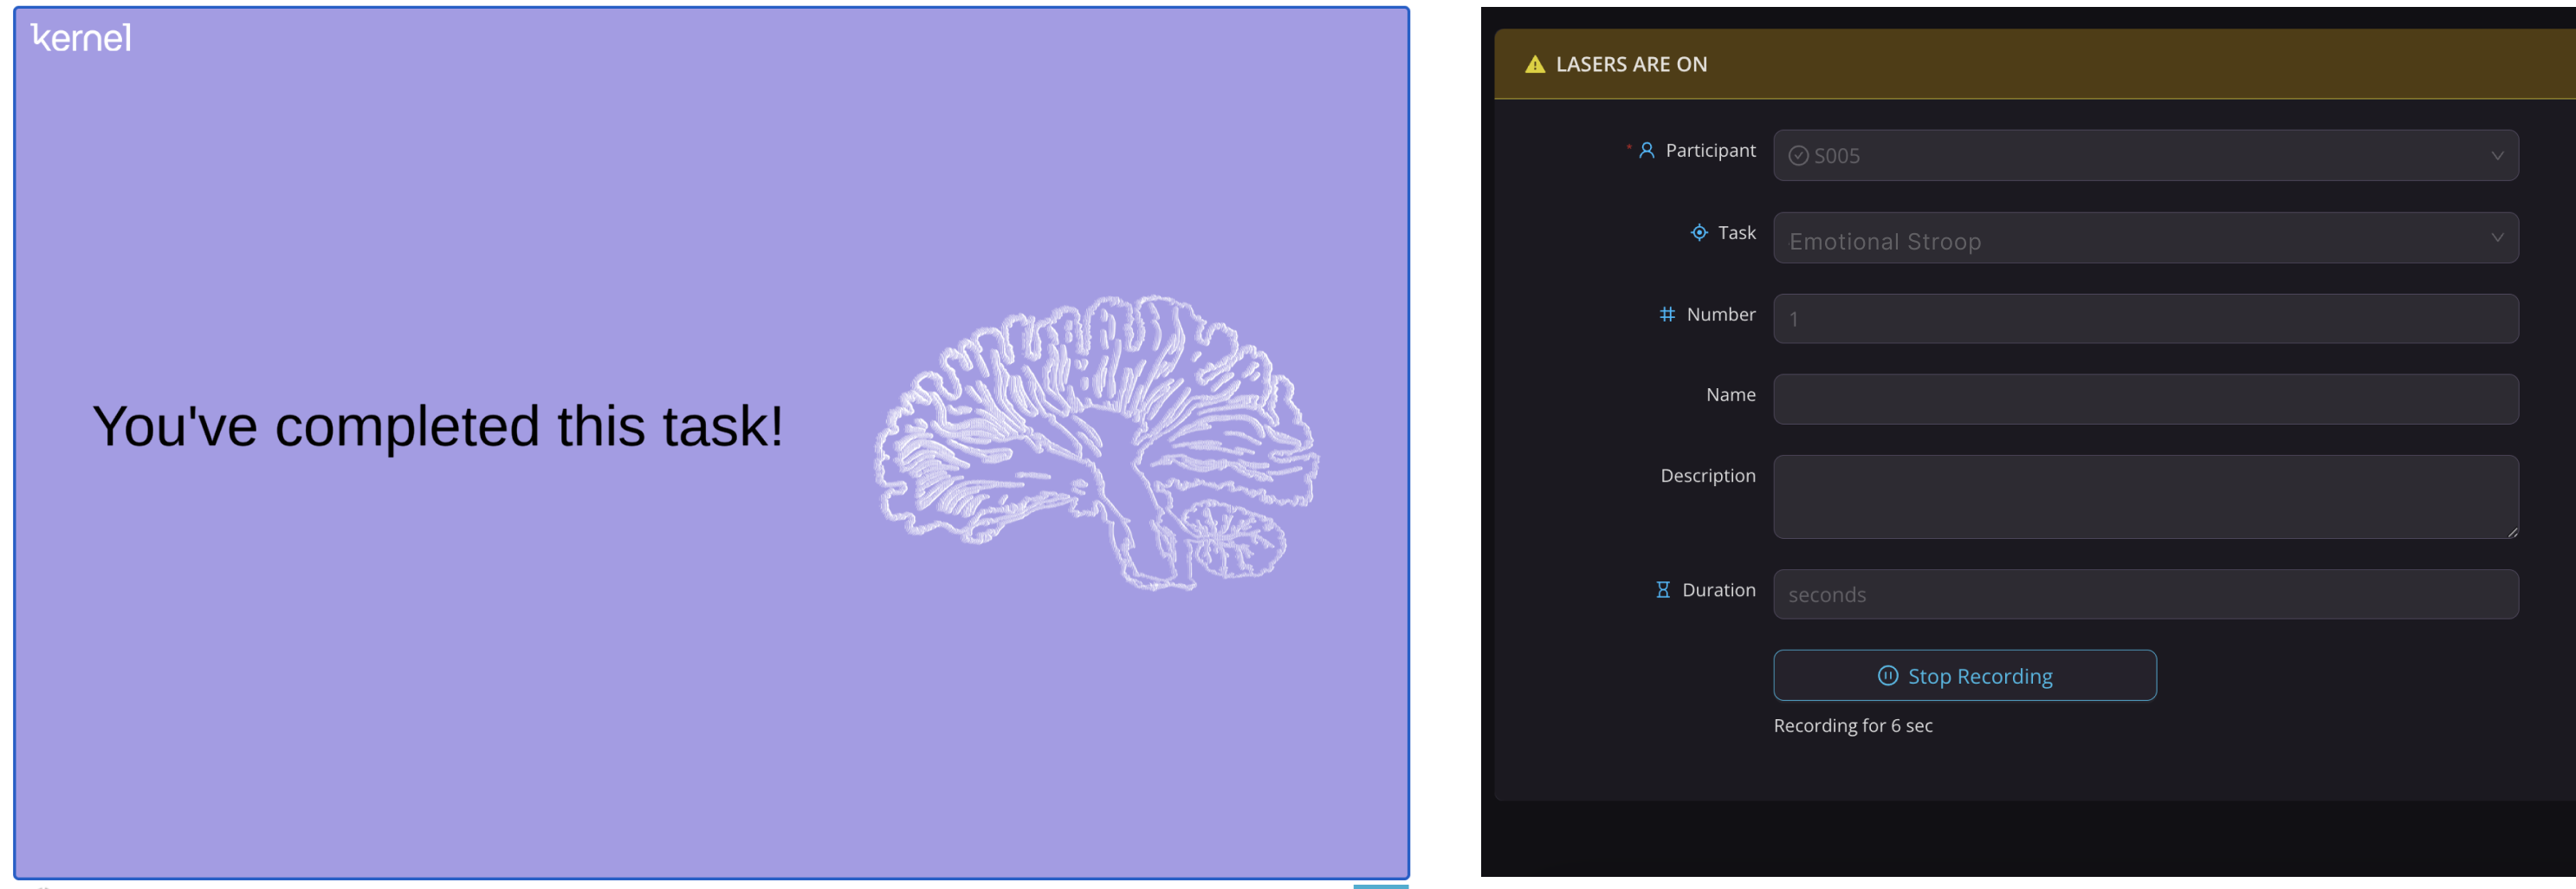
The system advances to the Recording screen. On this screen, you’ll see several metadata fields, most of them autofilled.
Use the Description box to enter any notes about the scan (e.g., participant behavior, environmental factors, unusual headset adjustments).
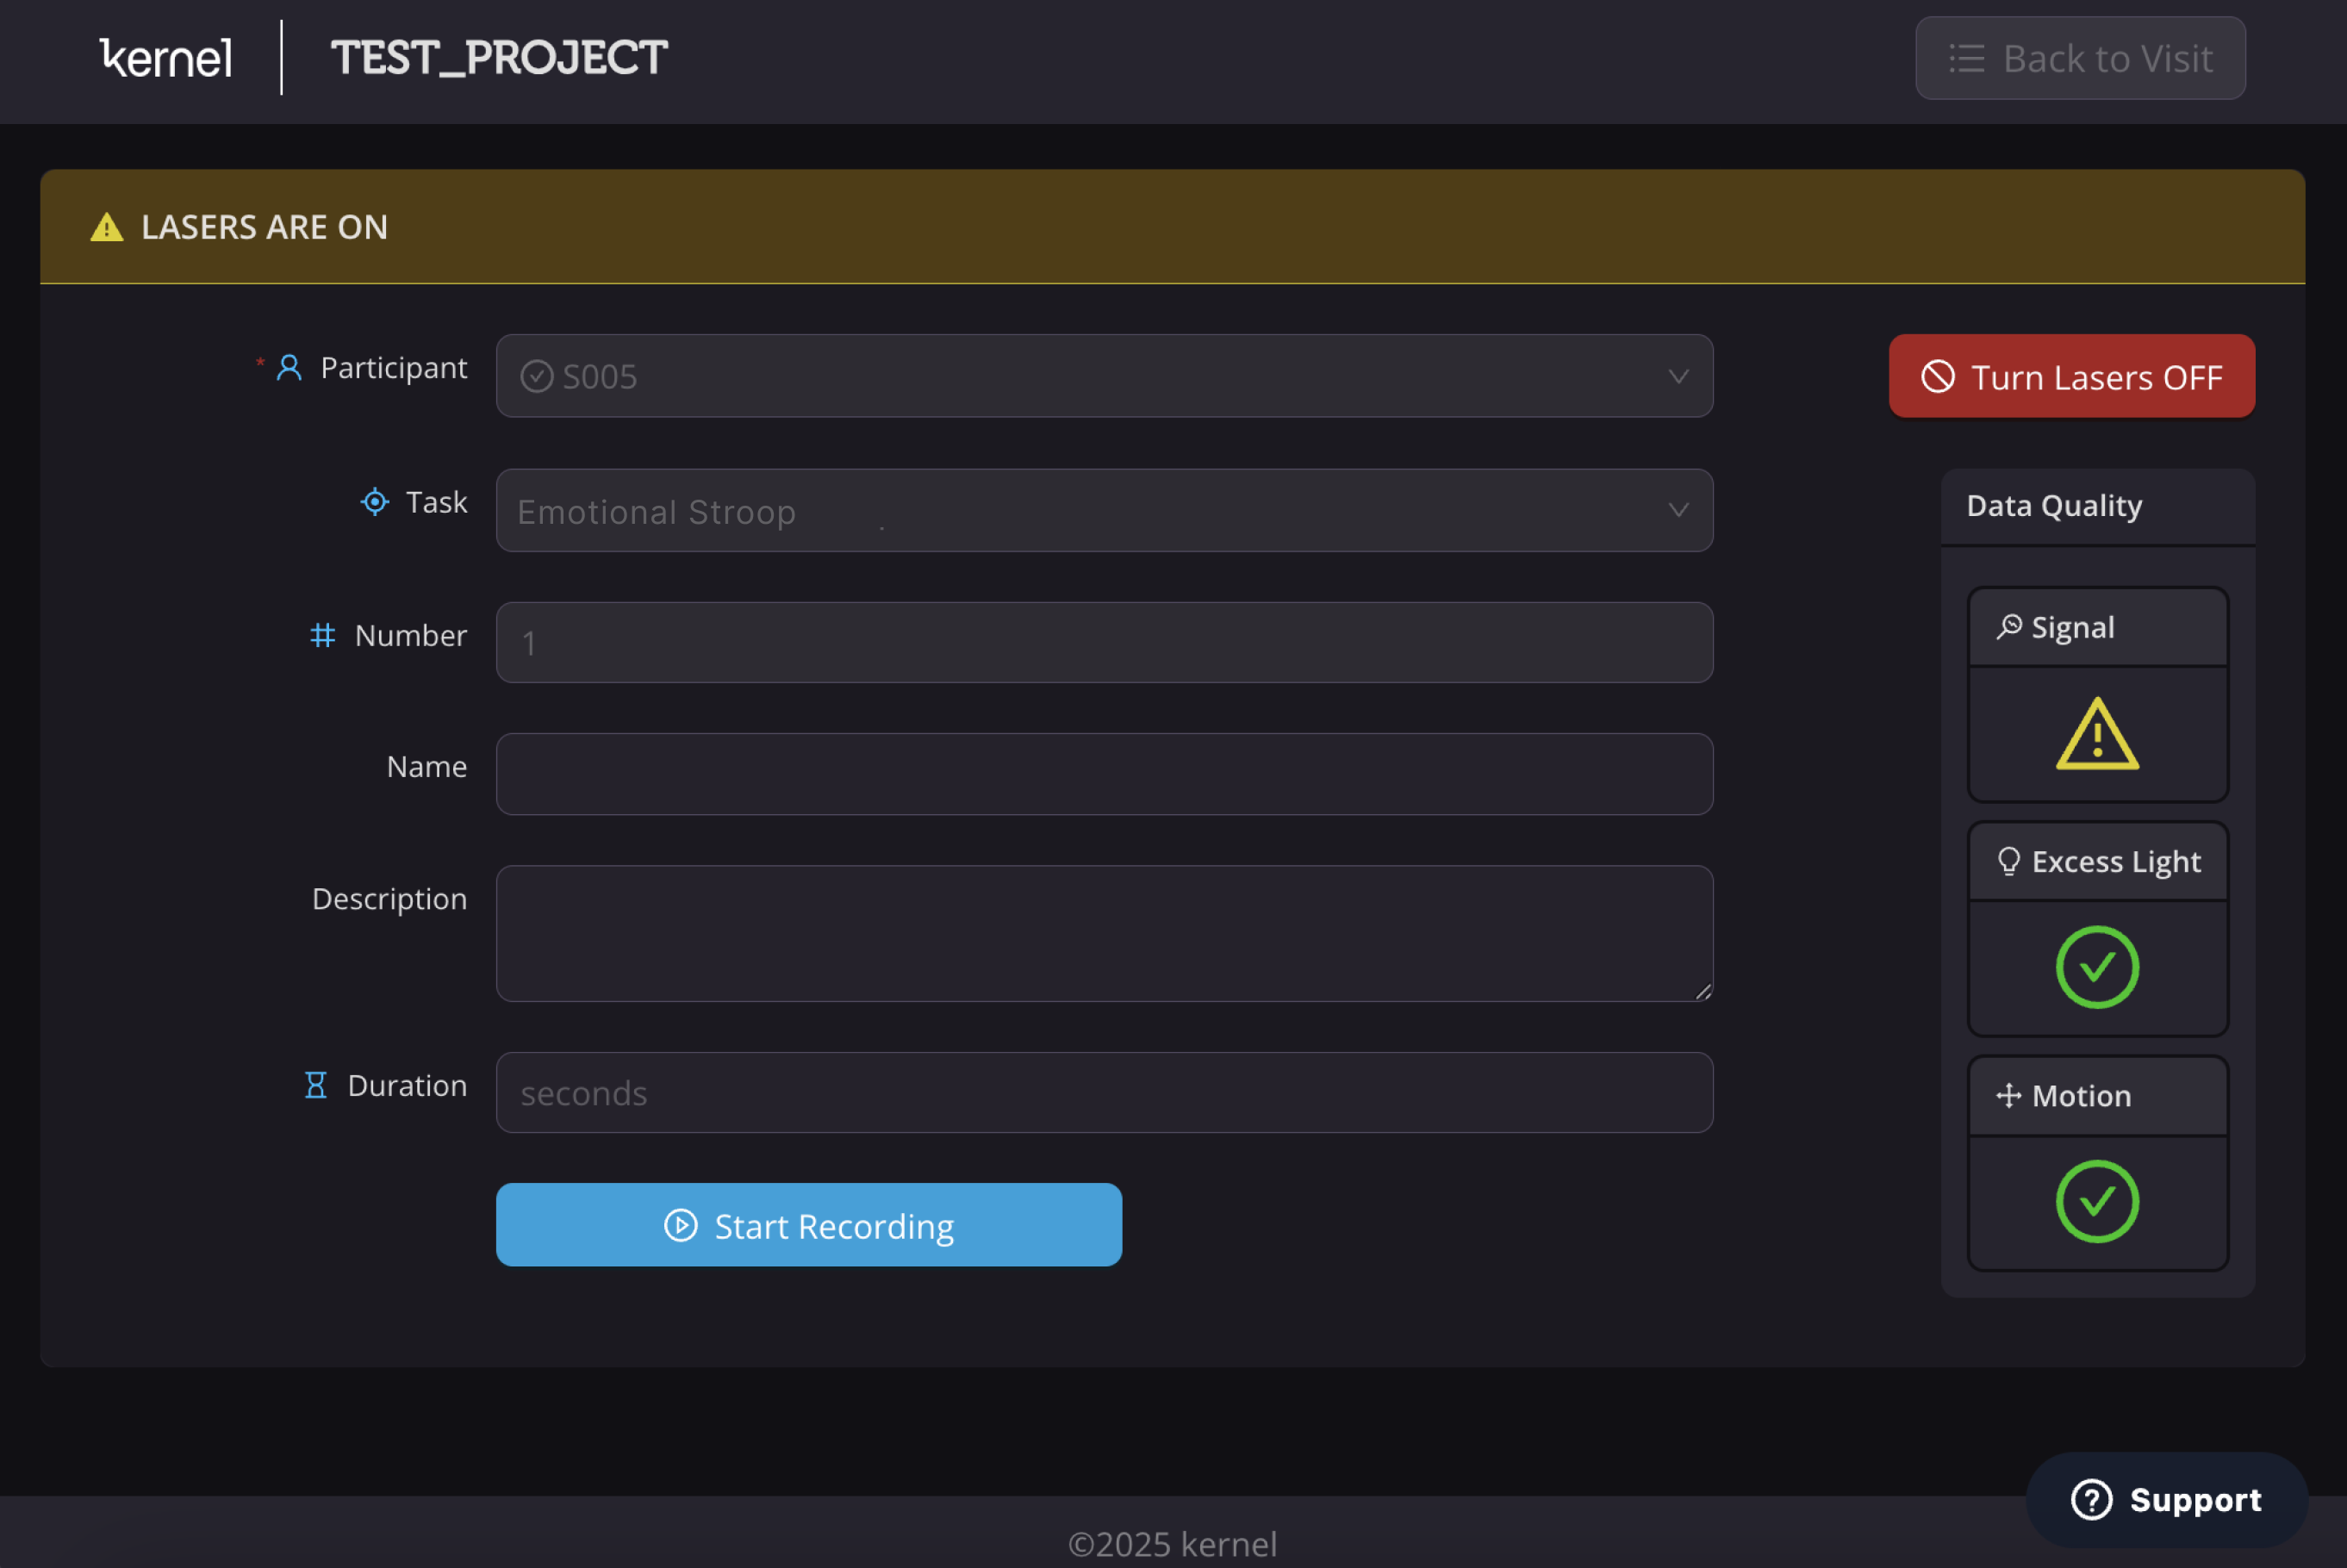
Review real-time data quality indicators to the right of the metadata panel:
Signal: Overall signal quality. If a yellow warning symbol appears, refer to the Signal Quality page for adjustment tips. You may toggle lasers off and back on to re-check alignment.
Excess Light: Possible interference from ambient light. If flagged, darken the room or block light sources.
Motion: Participant movement detected. If flagged, remind them to remain still.
NOTE:
The motion detection algorithm is intentionally sensitive. Minor movements can typically be corrected during data analysis.
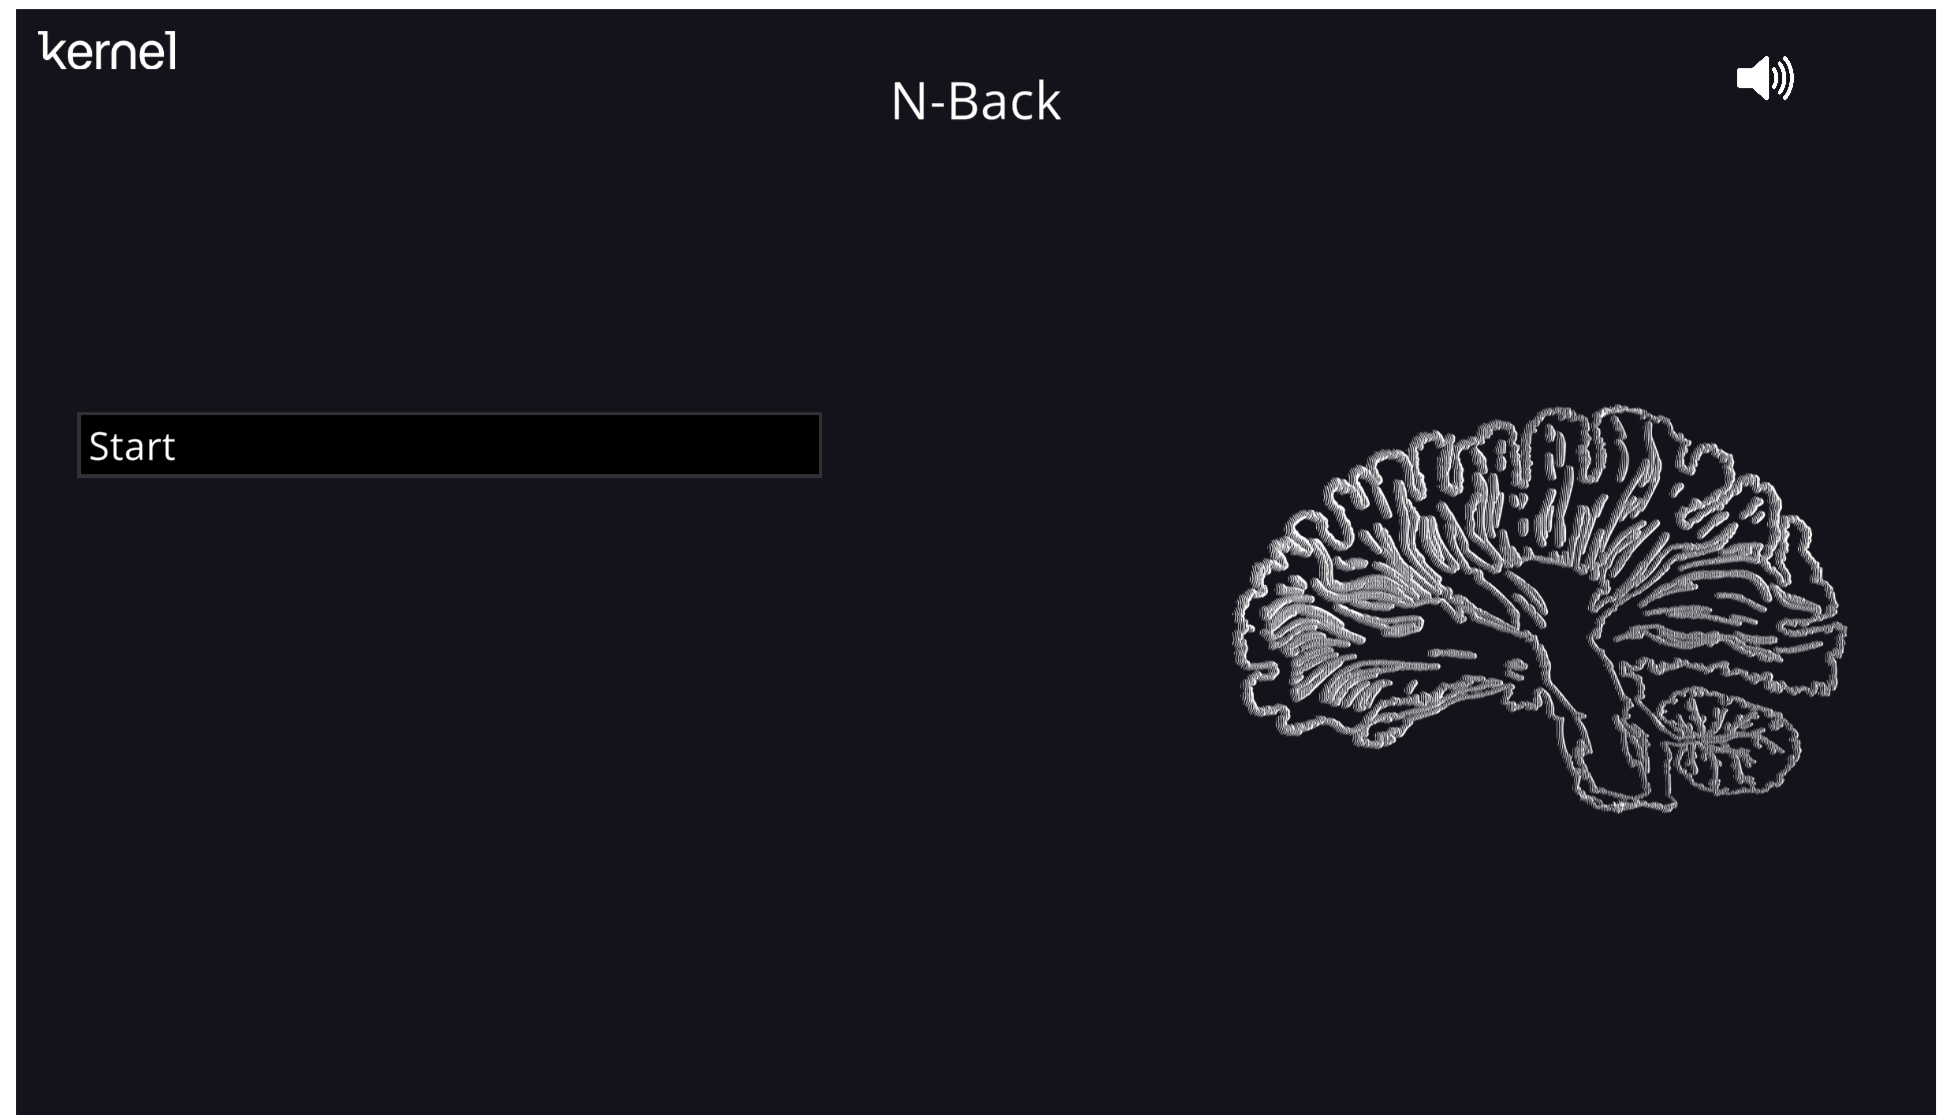
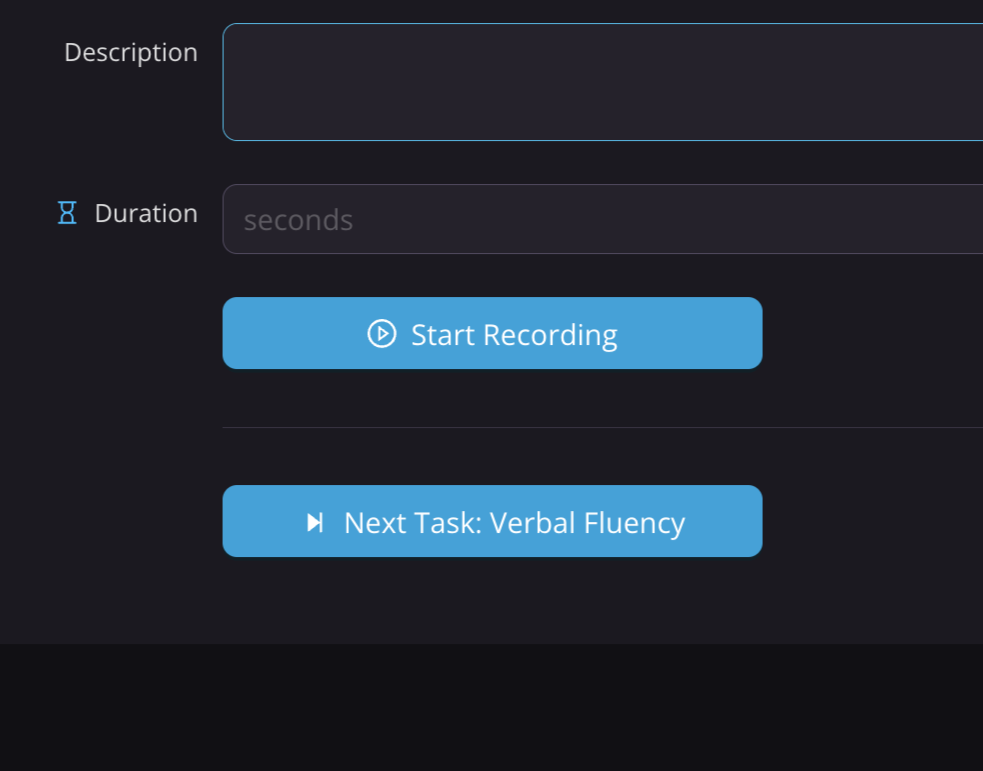
When ready, press Start Recording. This opens a new browser tab. Click Start to begin the task.
When the task ends, the participant will see the lavender completion screen. Exit full screen, close the tab, and in the Flow Interface, press Stop Recording.
If the checklist specifies another recording task:
You may proceed directly to the recording interface for the next task without removing or adjusting the headset (repeat Step 10).
Alternatively, click Turn Lasers OFF, remove the headset, and return to the checklist using Back to Visit in the top right corner.
When the last task in a series of checklist steps is completed, the only remaining option will be to turn the lasers off. At this point, remove the headset according to the instructions in Removing Flow from the participant and press Back to Visit to return to the checklist.
You will see on the checklist when a recording has been completed that the step turns green and is marked with a "Flow Recording Completed" message.
NOTE:
Approximately 5 minutes after a task has been recorded, two QC (quality control) metrics will appear for that step in the visit checklist: High-Priority Modules and Motion.
High-Priority Modules: indicates the percentage of usable signal obtained in prefrontal and temporal regions, rated on a scale from Lowest Signal (<40%) to Highest Signal (>80%).
Motion: indicates the number of motion events during the session, rated as Bad, Please Review, Good, or Excellent.
These ratings are especially useful when planning future visits with the same participant.
