Setting up the DevKit 
- Ensure that your data acquisition computer has Kortex installed (see Installing the Acquisition Driver). If it is a laptop, it should be plugged into power to ensure the battery does not die while using the DevKit.
- The Power/Data Cable is 3-pronged, with the On/Off Switch as the connecting point.
- Plug the long USB-C end of the Power/Data Cable (labeled FLOW) into the lone USB-C connector on the Hub of the headset.
- Plug the shorter USB-C end of the Power/Data Cable (labeled PWR) into the Kernel Flow Power Bank.
- Plug the Power Bank into an outlet or power strip.
- Plug the USB-A end of the Power/Data Cable (labeled DATA) into your computer (do not use red USB ports). If using a Macbook, use a USB-A to USB-C converter.
Starting up the headset
When using the Portal website to interact with the DevKit, it is strongly recommended that you use a Chrome internet browser. Other browsers are not guaranteed to work.
- Make sure the DevKit is on the provided Headset Stand.
- Power on the system using the On/Off switch on the Flow Power/Data Cable. You should see a steady green indicator LED on the Hub if the cables are configured correctly and the switch has been turned to On.
- From your account on the Portal website, navigate to the Study in which you'd like to collect data (see Managing Kernel Cloud if you have not set this up). Click the Flow tab.
- If the DevKit is not connected or has just been powered on, the Portal will display a "Searching for Flow Headset" message. This message should become a countdown around 30 seconds after the headset has been powered on. The countdown may take up to 90 seconds as the device boots up.

- When the countdown is over, the Portal will display "Connected to Flow" and display a map representing the module locations. Modules colored green on the map are receiving power and have been discovered by the computer.
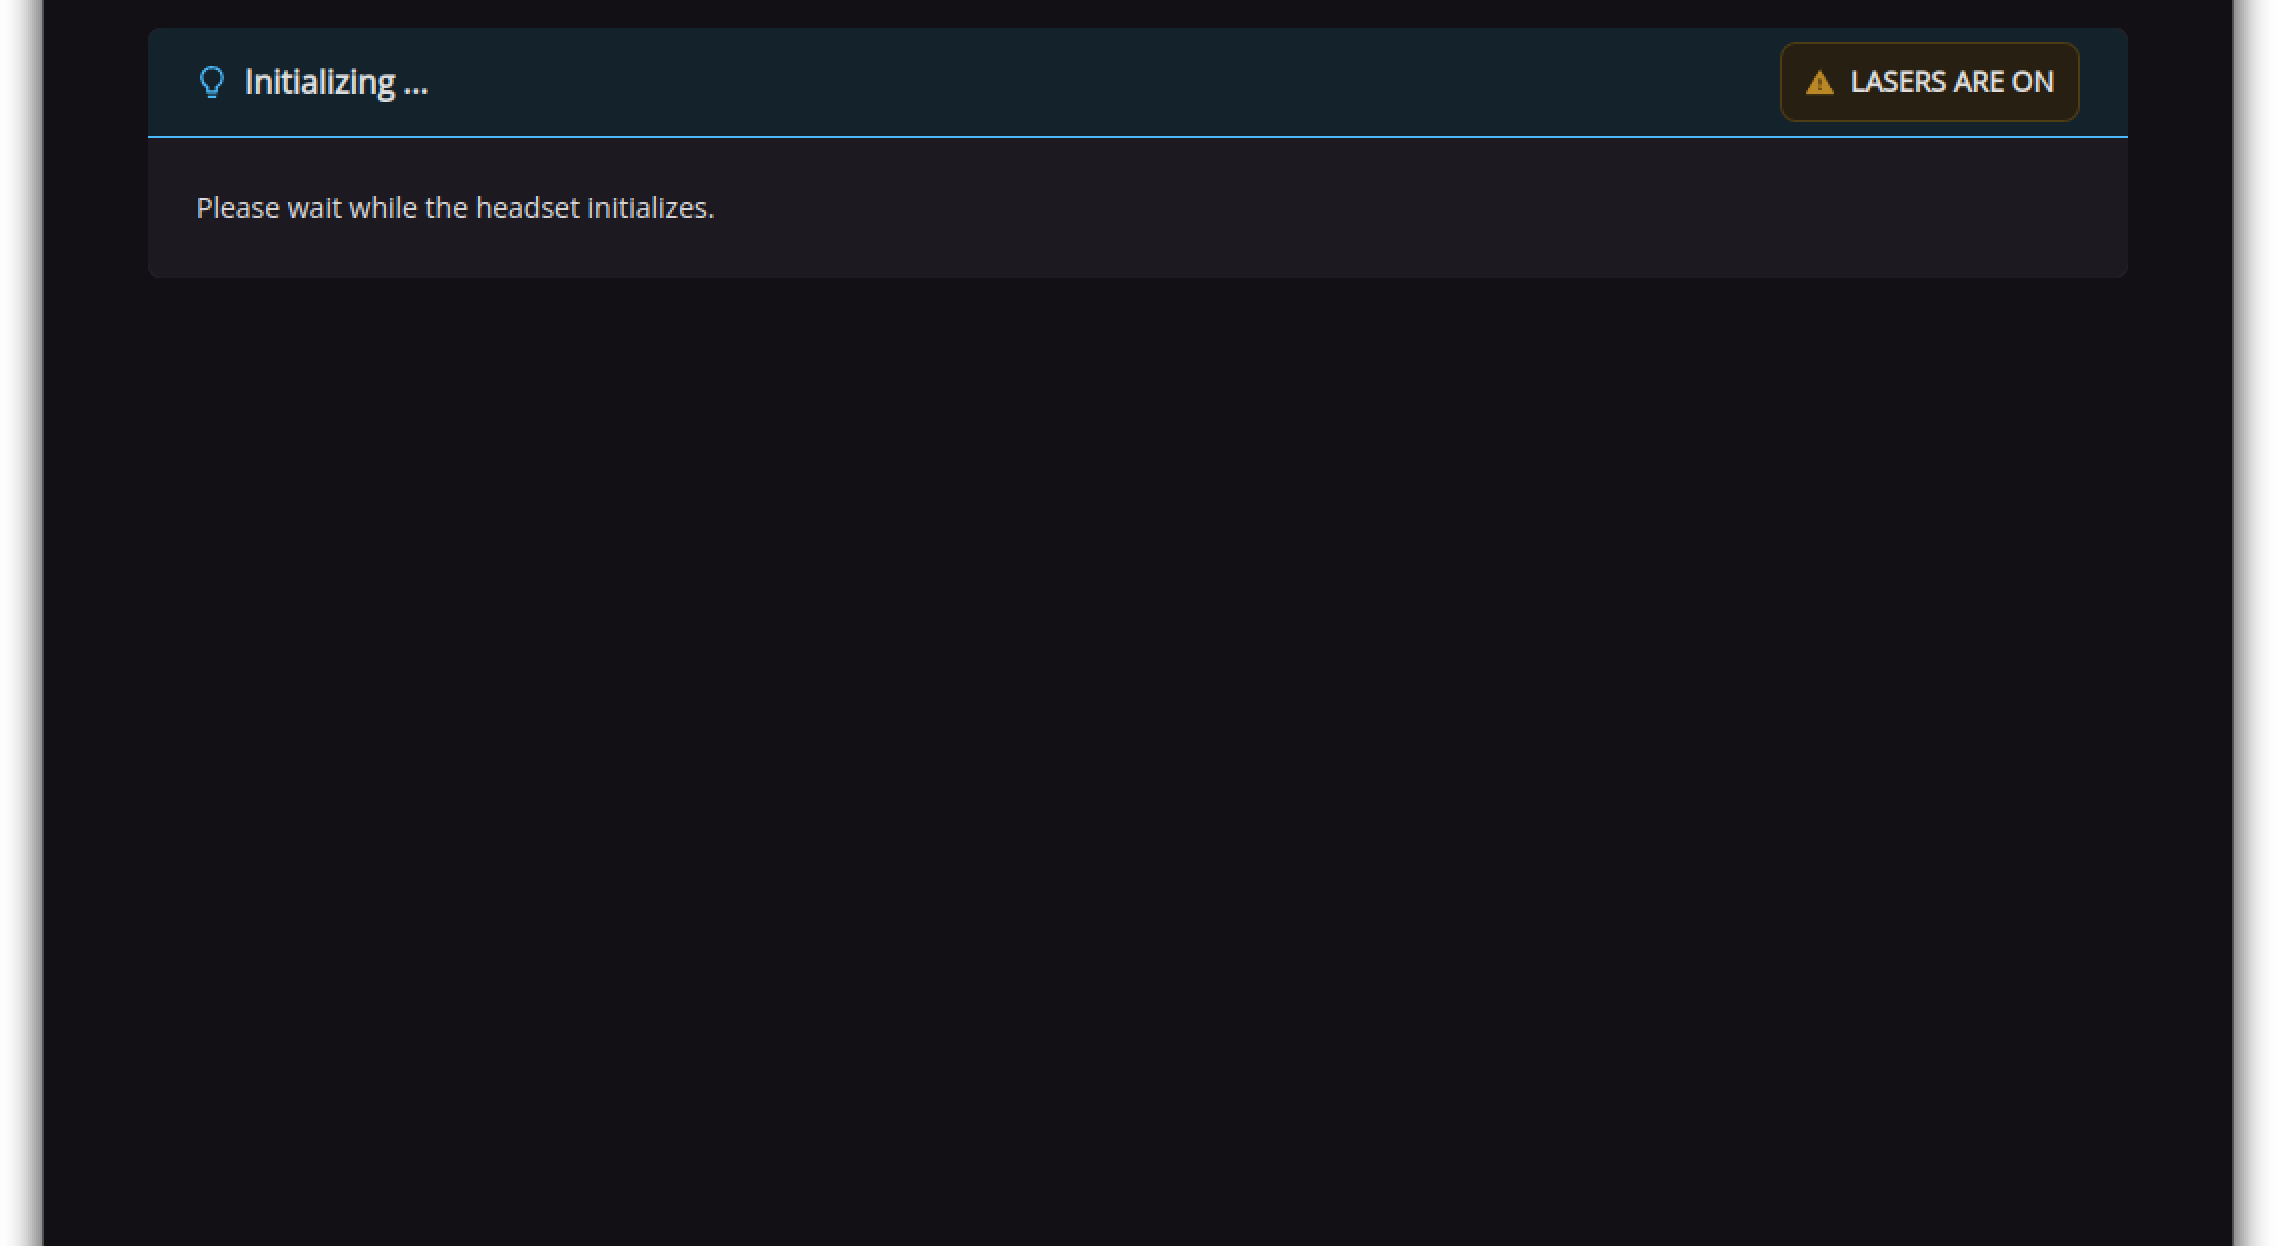
- Verify that the headset is seated and tightened on the Headset Stand. At this time, you should attempt to reduce any ambient light in the room by turning off overhead lights, closing window coverings, or minimizing other light sources. Click Initialize. Initialization takes about 2 minutes. The headset should not be removed from the stand during this time, as lasers are firing.
.png) Initialization must be performed using the Headset Stand, which is specifically designed to facilitate this process. Attempting initialization without the Headset Stand or removing it from the stand too early may result in failure or significantly increased startup time.
Initialization must be performed using the Headset Stand, which is specifically designed to facilitate this process. Attempting initialization without the Headset Stand or removing it from the stand too early may result in failure or significantly increased startup time.
7. When Initialization is complete, you will see the green module map once again. The lasers are off at this point. Now you are ready to place the DevKit on a head.
NOTE:
At this point, the startup procedure is complete and the system is in a "sleep" mode. Sleep mode means the DevKit is powered on, but the lasers are off. The system can be left in this state for multiple hours. At the end of the day, it is recommended to fully power the DevKit down.
Powering down the headset
To power down the DevKit, simply switch the On/Off Switch on the Flow Power/Data Cable to Off. The green indicator LED on the Hub should turn off. Only at this point should you unplug the USB-C cables from the Power Bank and/or the Hub.