When using the Portal website to record Flow data, it is strongly recommended that you use a Chrome internet browser. Other browsers are not guaranteed to work.
To begin recording:
- Make sure you are in the Flow tab for the correct Organization and the Study under which you want to record data.
- Follow the instructions in the Preparing Flow for Use or Preparing DevKit for Use sections to start up the headset, fit the headset properly on the participant, and tune the lasers.
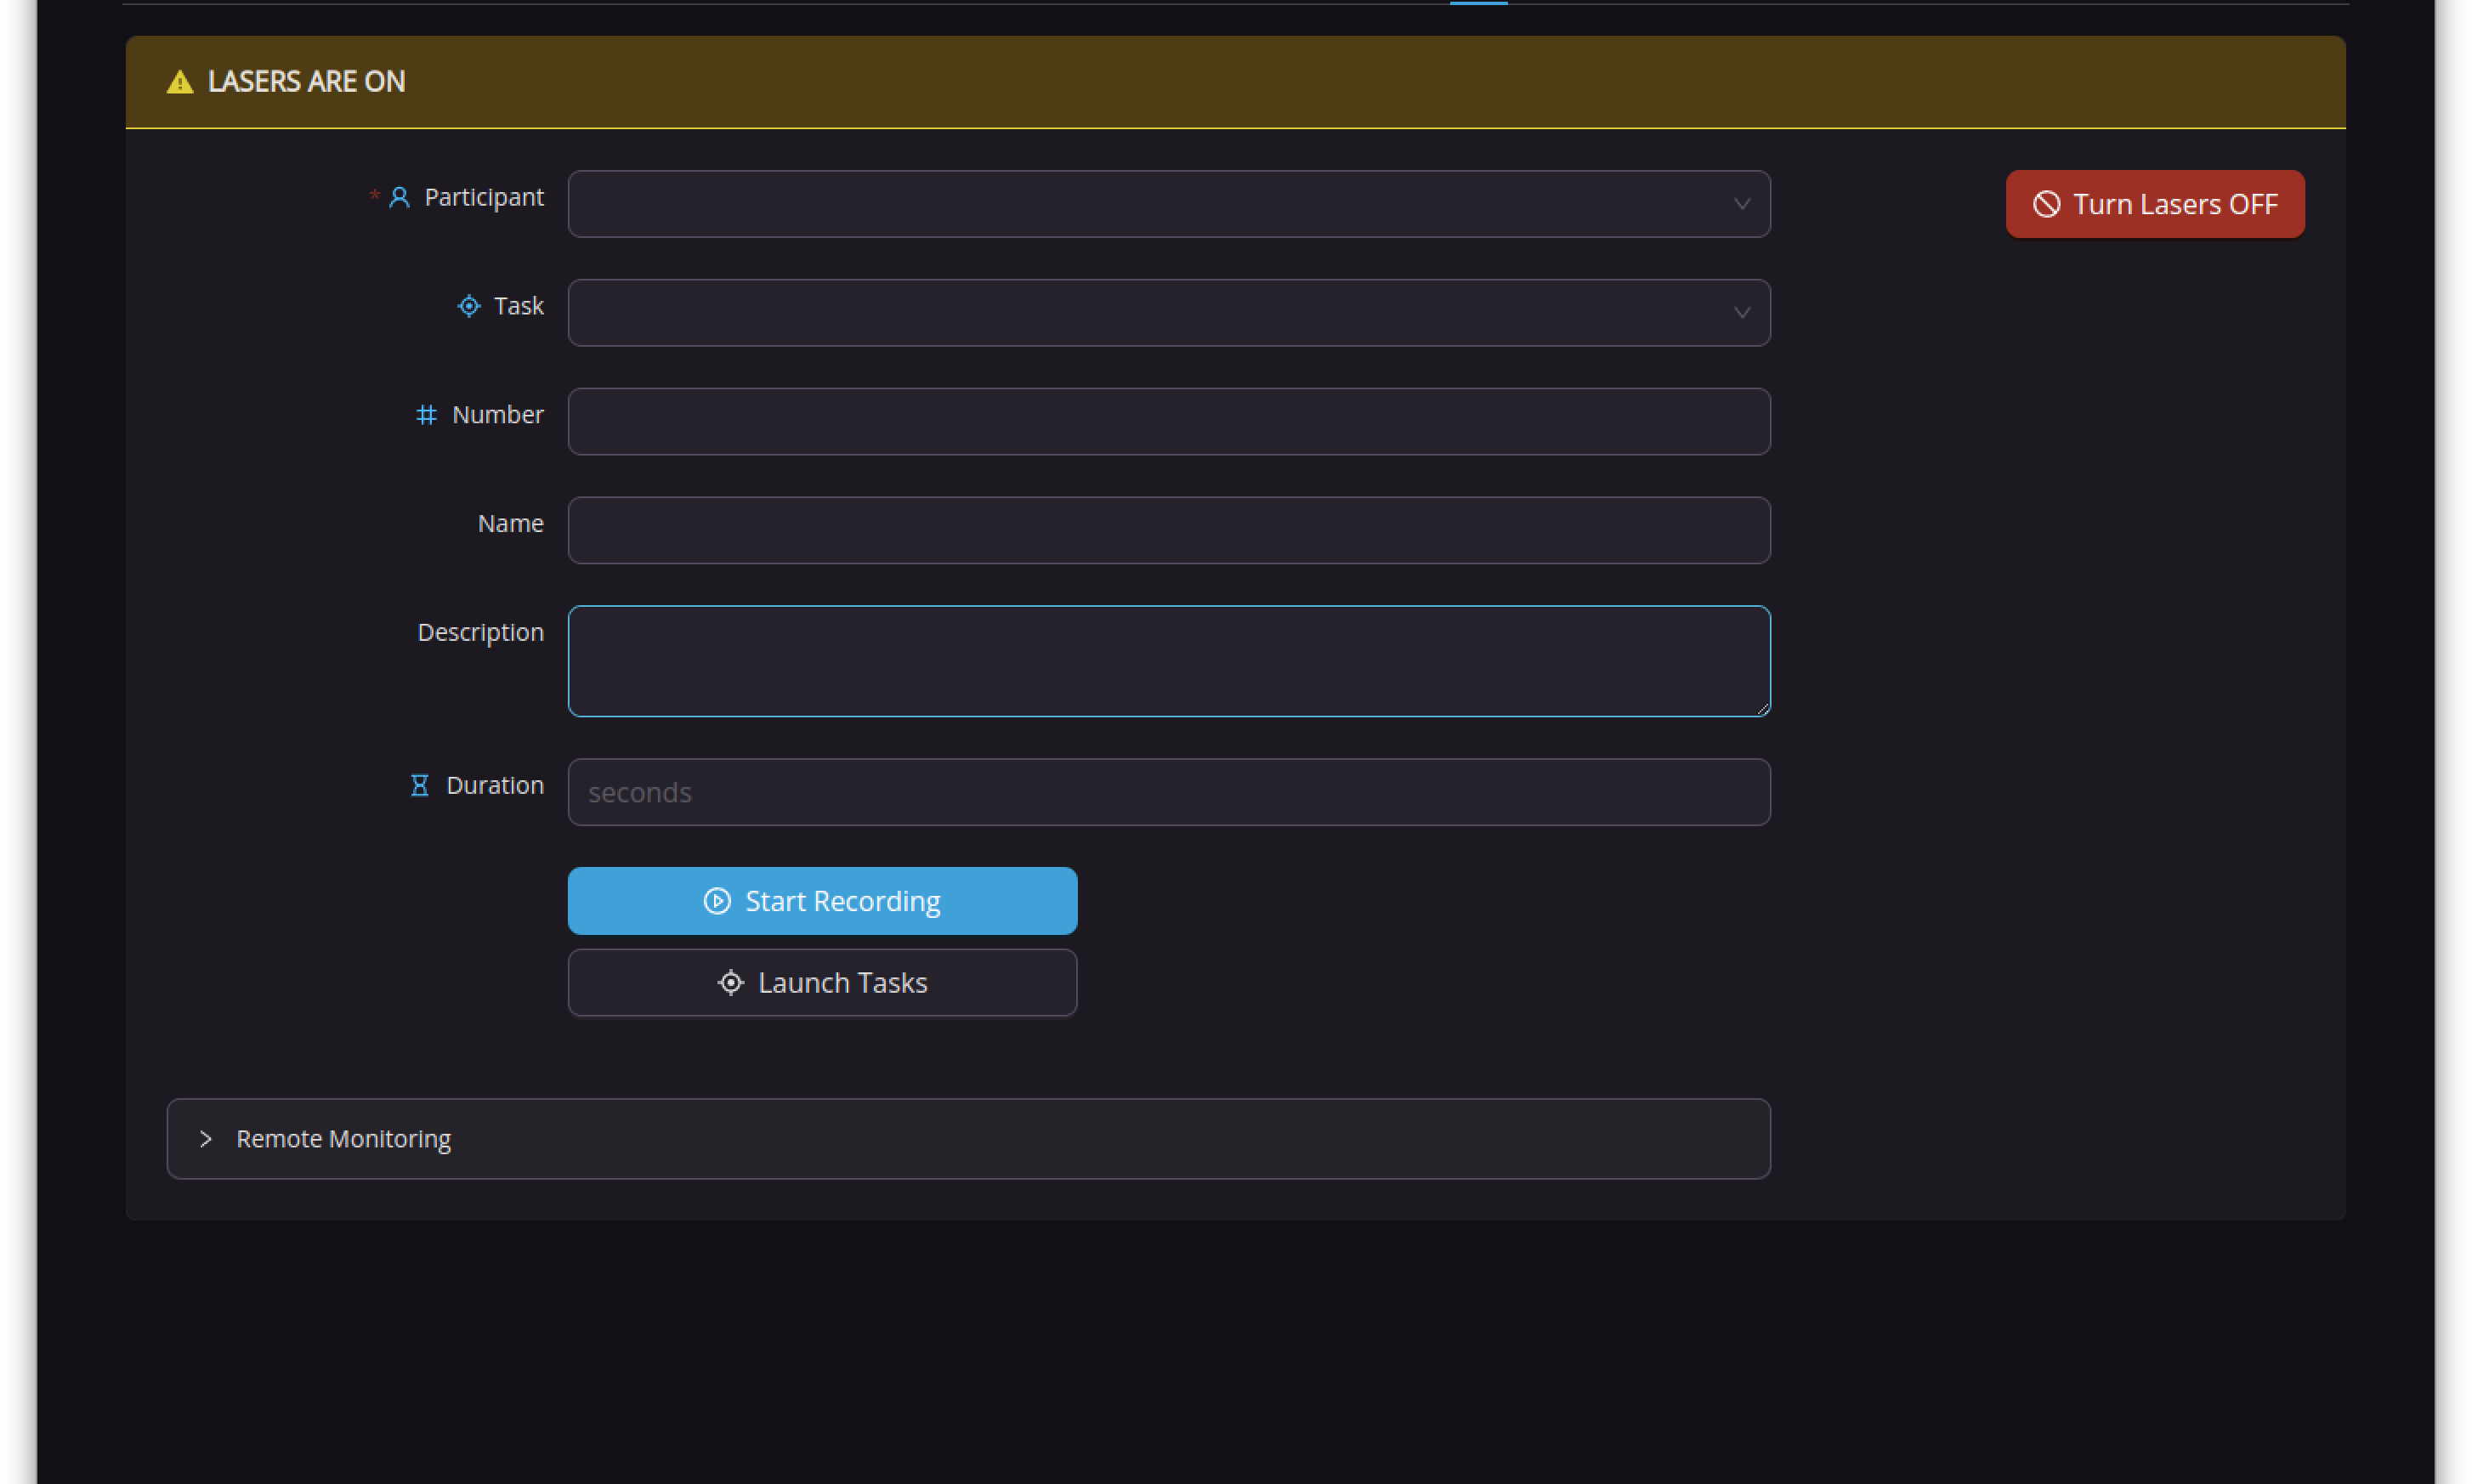
- From the Data Acquisition Control Menu, click the Participant drop-down menu and select the ID that corresponds with the participant who is wearing the headset.
- Optionally select a Task name from the Task drop-down menu. To learn more about Task names, see Adding Task names.
- Optionally enter a visit Number, Name, and Description.
- Optionally enter a maximum duration in seconds (i.e. 10 minutes = 600) in the Duration field.
- Click Start Recording.
- If you are running a Kernel-built Unity Task during this recording, click Launch Tasks. If you are running a Task belonging to your own organization, start it after the recording has begun. See Kernel Tasks.
If you do not see the Participant ID or Task name you are looking for in the drop-downs, you may need to add that participant or Task to the Study. See Adding task names and Adding participants to a study.
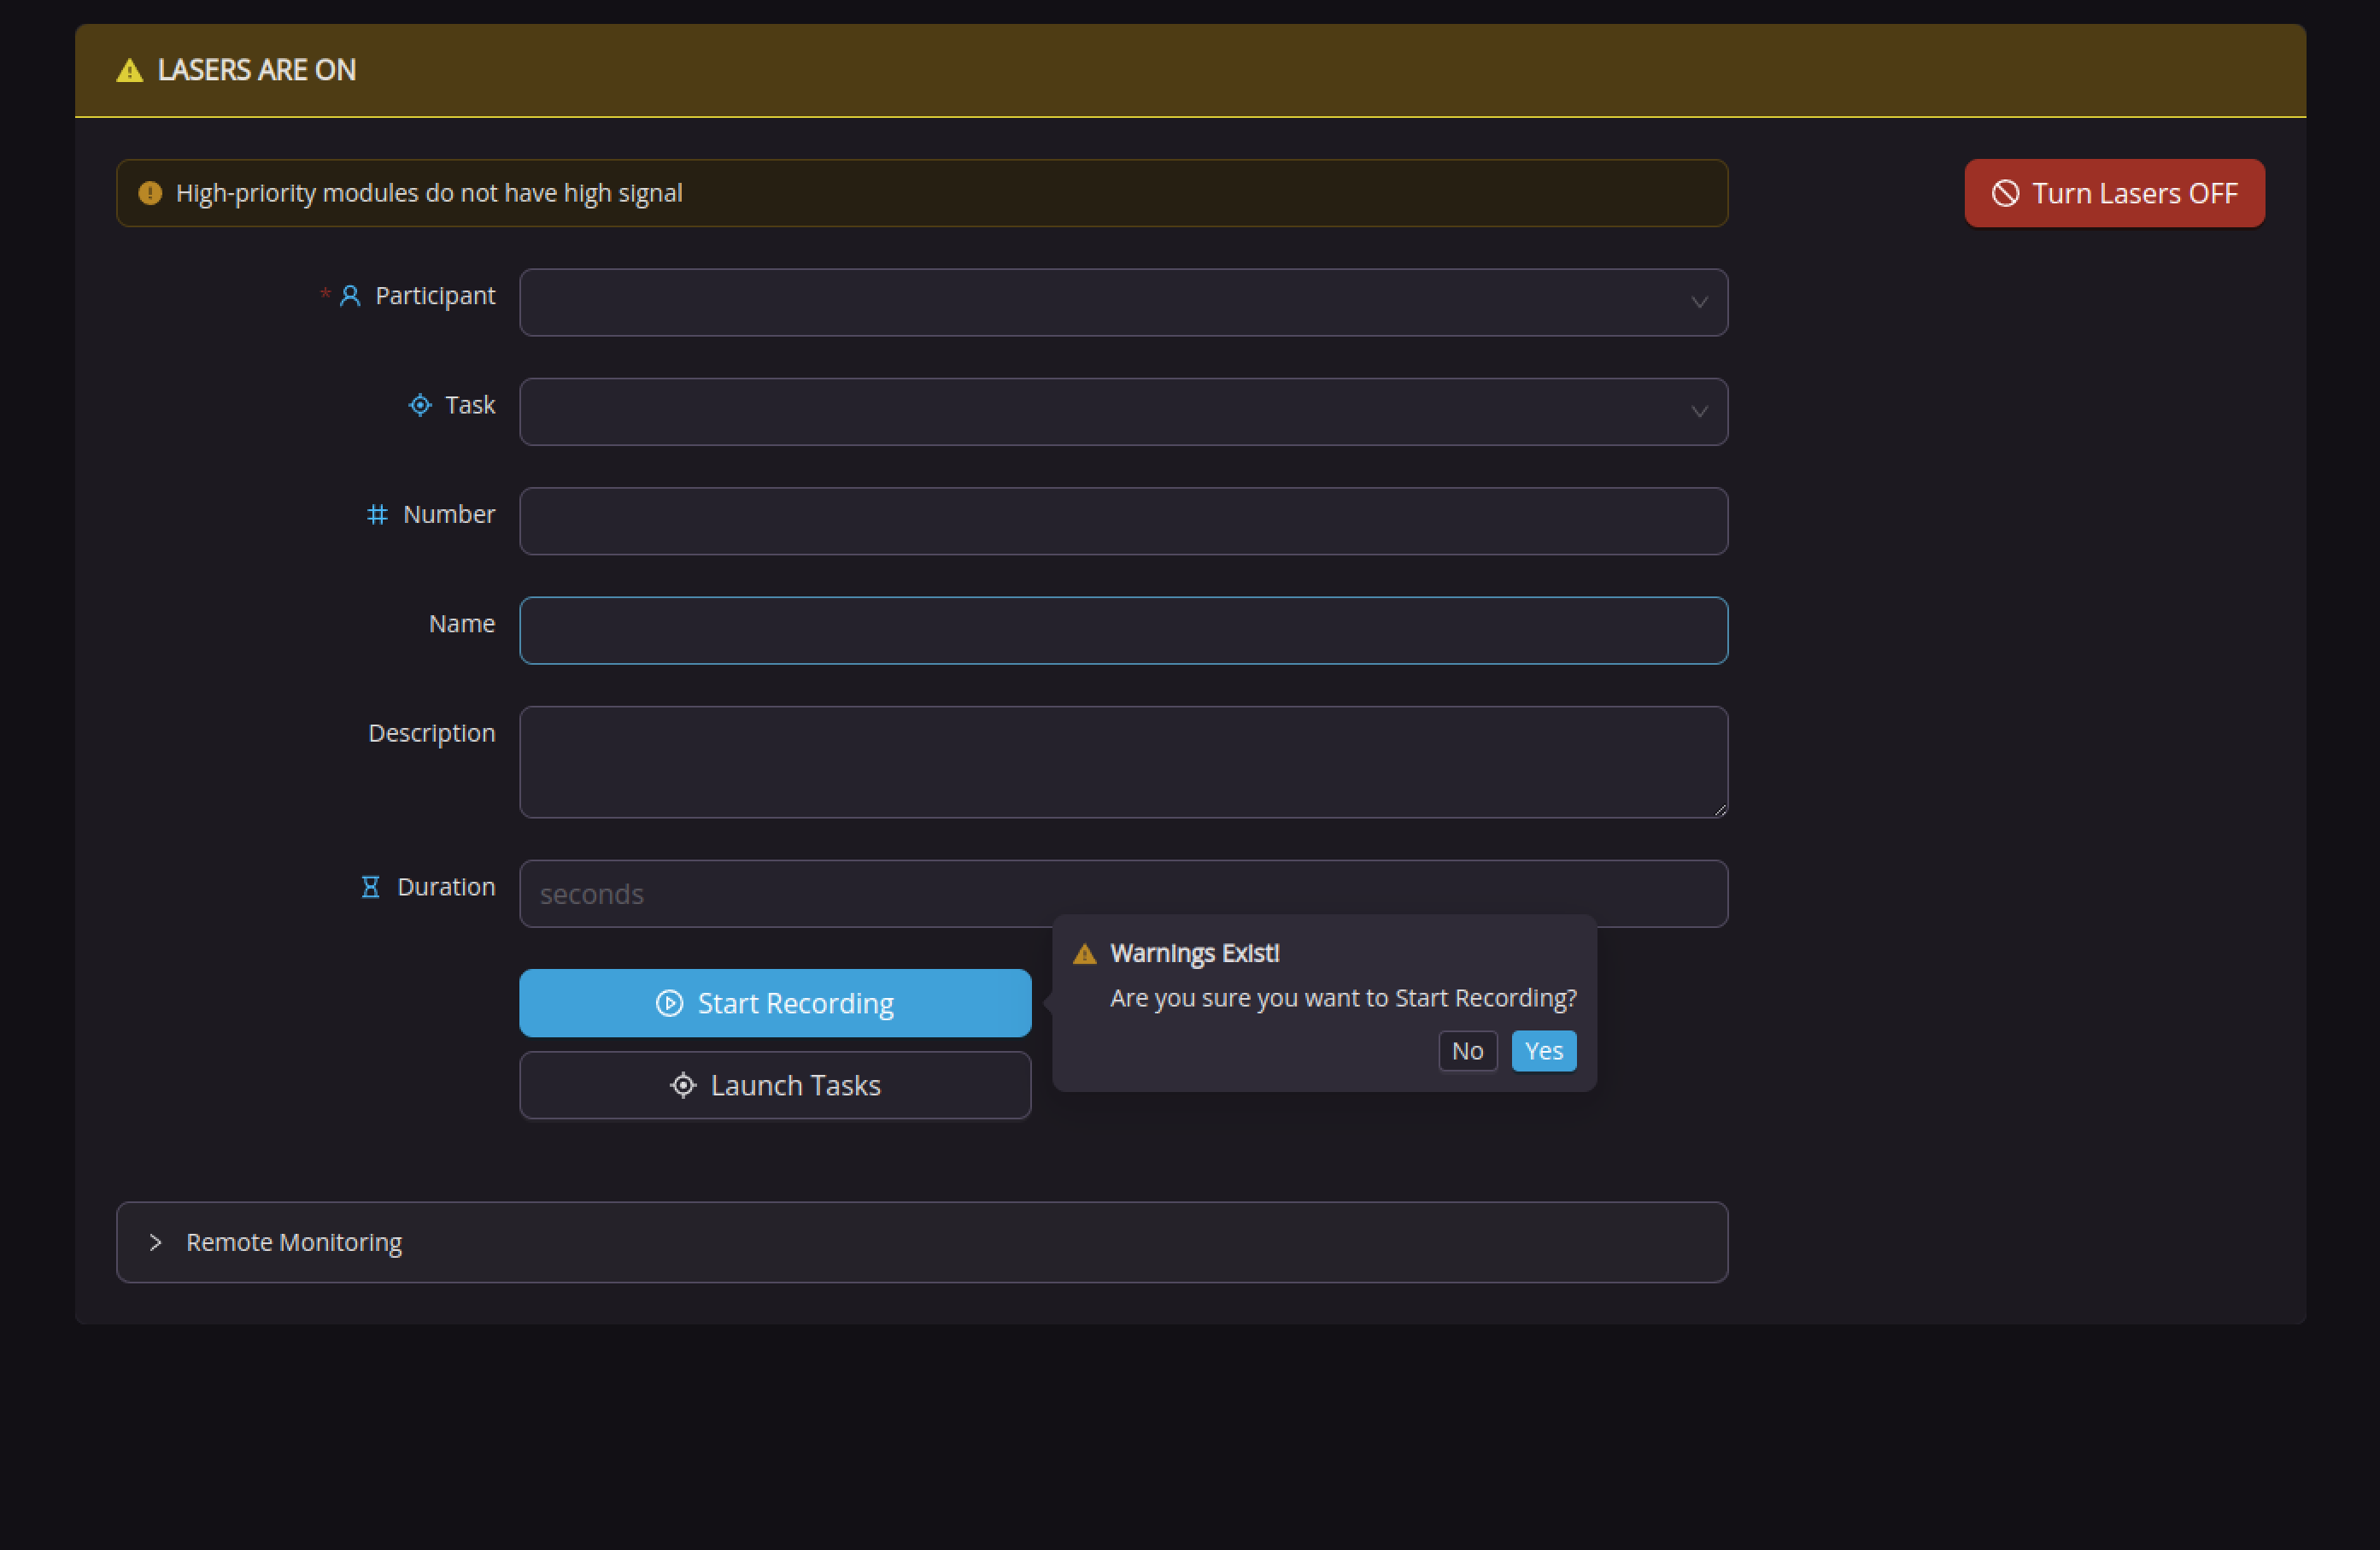
When starting recording, a confirmation dialog appears if warnings exist. You may opt to ignore this box if the warning is expected/known, or you can cancel the start of the recording and fix the issue. Then press Start Recording again. If you need to view the signal quality map again before starting the recording, turn lasers off and then back on.
The system begins recording and continues to record until the duration set in Step 6 above is reached, or until the recording is manually stopped.
When properly configured, Flow requires no manipulation or intervention during the actual recording of a run. This allows the researcher to focus primarily on the administration of the Task or otherwise interacting with the participant.
To interrupt a recording in progress:
- Click the Stop Recording button.
The recording will stop, and all data are uploaded to Kernel Cloud.